Android Layouts — Relative/Linear/Frame
In Android, every Activity has some layouts and in those layouts, various view components are present(learn about Activity from here and view from here ). So, in this blog, we will learn about three layouts in Android i.e. the Relative Layout, the LinearLayout, and the FrameLayout. All the views are held by some layouts in Android. So, let's get started with the Relative Layout.
Relative Layout
Relative means concerning another , or we can understand this as a relative to one another. In this layout, all the components are arranged concerning with each other.
For example: If we have one Button on the screen and now we want to put the TextView below the button i.e. the TextView is relatively below the Button . Following is the code of doing the same:
<?xml version="1.0" encoding="utf-8"?>
<RelativeLayout      xmlns:android="http://schemas.android.com/apk/res/android"
    android:layout_width="match_parent"
    android:layout_height="match_parent">

    <Button
        android:id="@+id/button2"
        android:layout_width="wrap_content"
        android:layout_height="wrap_content"
        android:text="Click Me!!" />
   <TextView
        android:layout_width="wrap_content"
        android:layout_height="wrap_content"
        android:layout_below="@id/button2"
        android:text="MindOrks" />
</RelativeLayout>
Form the above code, it can be seen that, the TextView is below the Button. Here we have used layout_below to put the TextView below the Button.
Linear Layout
Linear means in a line, either horizontal or vertical. We can understand here as all the elements inside the linear layout get arranged linearly, one after the other. If you are using horizontal orientation, then all the views inside the LinearLayout will be arranged horizontally one after the other.
For example: A Button is there on the screen, and now we need to put some text below the button. Here, we need to define the orientation of the LinearLayout to be vertical.
<?xml version="1.0" encoding="utf-8"?>
<LinearLayout xmlns:android="http://schemas.android.com/apk/res/android"
    android:layout_width="match_parent"
    android:layout_height="match_parent"
    android:orientation="vertical">
    <Button
        android:id="@+id/button2"
        android:layout_width="wrap_content"
        android:layout_height="wrap_content"
        android:text="Button" />
    <TextView
        android:id="@+id/textView2"
        android:layout_width="wrap_content"
        android:layout_height="wrap_content"
        android:text="MindOrks" />
</LinearLayout>
Here, the TextView will be arranged below the Button because the orientation is vertical.
Frame Layout
Frame Layout is one of the layouts which helps us to create a more complex design easily. When we require to create a design where the components are on top of each other, we use the FrameLayout.
To define which component will be on top, we put it in the end. For example , if we want some text over an image, then we will put the TextView in the end.
<?xml version="1.0" encoding="utf-8"?>
<FrameLayout xmlns:android="http://schemas.android.com/apk/res/android"
    android:layout_width="match_parent"
    android:layout_height="match_parent">
    <ImageView
        android:layout_width="match_parent"
        android:layout_height="match_parent"
        android:src="@drawable/mindorkslogo"
        android:text="Button" />

    <TextView
        android:id="@+id/textView2"
        android:layout_width="wrap_content"
        android:layout_height="wrap_content"
        android:layout_gravity="center"
        android:text="MindOrks" />
</FrameLayout>
Run the application and see the output.
Now, we are going to build one UI with all the above three layouts. But before that, we should keep in mind the below points:
- Whenever we are going to use any image in our project, there is a naming rule for it -> lowercase a-z, 0–9, underscore
- There is a proper naming convention followed by all the Android Developers on how to name your variable, classes, methods. This is not the same for everyone, but it is something which makes things more understandable and easy to read.
Now, we are going to create the following screen using all the three layouts one by one:
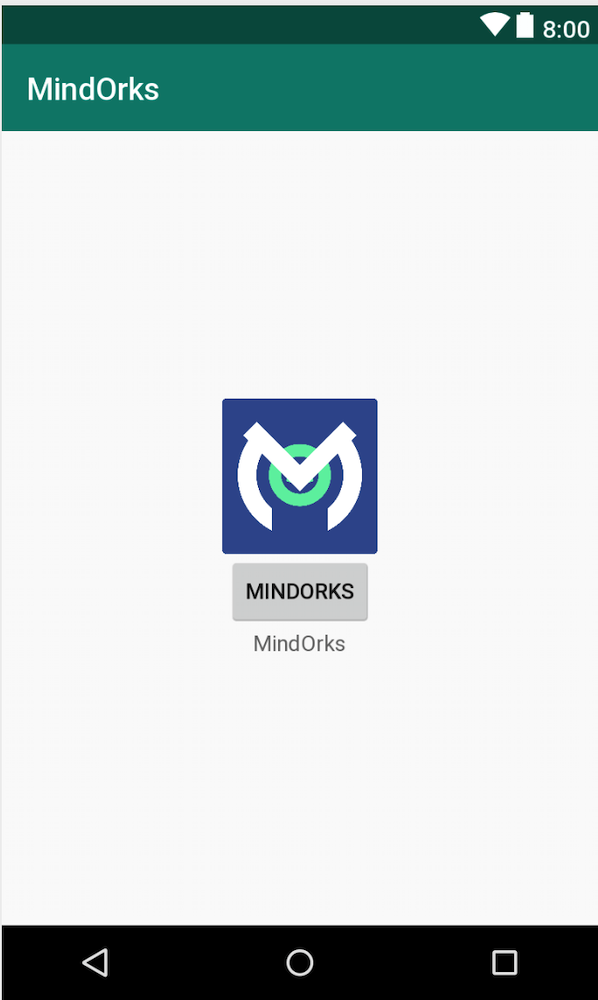
Firstly, we are using LinearLayout
- You can use your own image.
- Copy and Paste the image into the Drawable folder of your project and give its name according to the naming rules given above
- Let’s put one ImageView, one Button and one TextView on the screen. You can drag the items from the palette, or you can try writing the code in the text section.
- Here, the parent view group we are using is LinerLayout which requires to define orientation. Try giving it “vertical” or “horizontal”.
- Give your text to the TextView and also text to the Button.
<?xml version="1.0" encoding="utf-8"?>
<LinearLayout xmlns:android="http://schemas.android.com/apk/res/android"
    xmlns:app="http://schemas.android.com/apk/res-auto"
    xmlns:tools="http://schemas.android.com/tools"
    android:layout_width="match_parent"
    android:layout_height="match_parent"
    android:gravity="center"
    android:orientation="vertical"
    tools:context=".MainActivity">
<ImageView
        android:layout_width="100dp"
        android:layout_height="100dp"
        app:srcCompat="@drawable/logo" />
<Button
        android:layout_width="wrap_content"
        android:layout_height="wrap_content"
        android:text="MindOrks" />
<TextView
        android:layout_width="wrap_content"
        android:layout_height="wrap_content"
        android:text="MindOrks" />
</LinearLayout>
Run the app and you will get the desired output.
Now, for RelativeLayout, you need to arrange the views relative to each other i.e. the Button will be below the ImageView and the TextView will be below the Button.
<?xml version="1.0" encoding="utf-8"?>
<RelativeLayout xmlns:android="http://schemas.android.com/apk/res/android"
    xmlns:app="http://schemas.android.com/apk/res-auto"
    xmlns:tools="http://schemas.android.com/tools"
    android:layout_width="match_parent"
    android:layout_height="match_parent"
    android:gravity="center"
    tools:context=".MainActivity">
<ImageView
        android:id="@+id/ivLogo"
        android:layout_width="100dp"
        android:layout_height="100dp"
        app:srcCompat="@drawable/logo" />
<Button
        android:id="@+id/btnMindorks"
        android:layout_width="100dp"
        android:layout_height="wrap_content"
        android:text="MindOrks"
        android:layout_below="@id/ivLogo"/>
<TextView
        android:id="@+id/tvMindorks"
        android:layout_width="100dp"
        android:layout_height="wrap_content"
        android:text="MindOrks"
        android:gravity="center"
        android:layout_below="@id/btnMindorks"/>
</RelativeLayout>
Run the app and you will get the desired output.
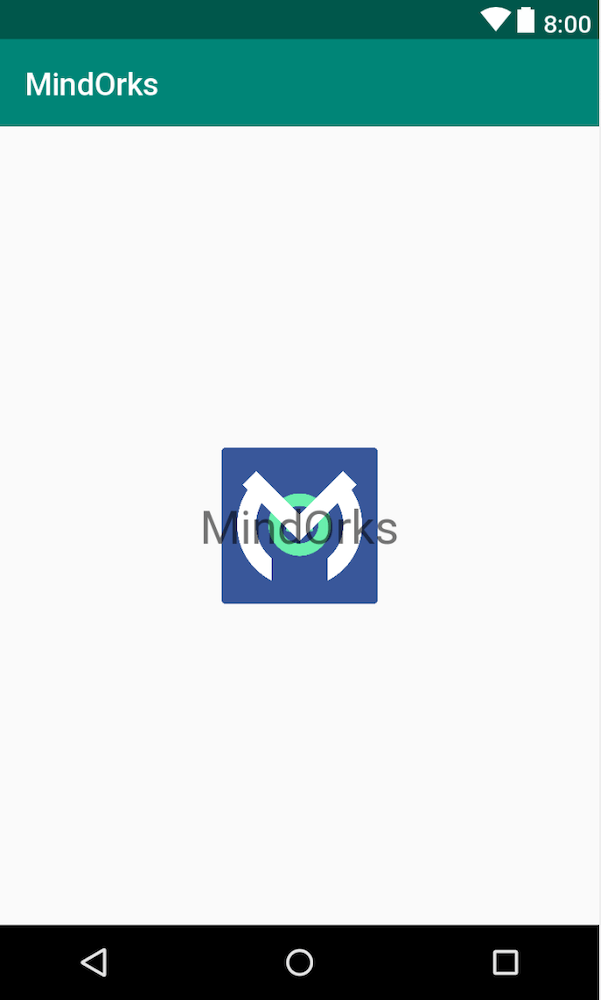
Lastly, we are going to use FrameLayout. Here, we are changing the design a bit to show how FrameLayout can be used to set view on one another. We are going to develop the below screen:
<?xml version="1.0" encoding="utf-8"?>
<FrameLayout xmlns:android="http://schemas.android.com/apk/res/android"
    xmlns:app="http://schemas.android.com/apk/res-auto"
    xmlns:tools="http://schemas.android.com/tools"
    android:layout_width="match_parent"
    android:layout_height="match_parent"
    tools:context=".MainActivity">
<ImageView
        android:id="@+id/ivLogo"
        android:layout_width="100dp"
        android:layout_height="100dp"
        android:layout_gravity="center"
        app:srcCompat="@drawable/logo" />
<TextView
        android:id="@+id/tvMindorks"
        android:layout_width="wrap_content"
        android:layout_height="wrap_content"
        android:layout_gravity="center"
        android:text="MindOrks" />
</FrameLayout>
Awesome!! We had tried all the three main layouts. Now it's time to practice some design by yourself and share with us on Twitter or LinkedIn .
Happy Learning :)
Team MindOrks!