Android RecyclerView in Kotlin
Welcome, Here we are going to learn about Android’s RecyclerView. When we need a list of lots of data to display on screen we use RecyclerView.
Why the name is RecyclerView?
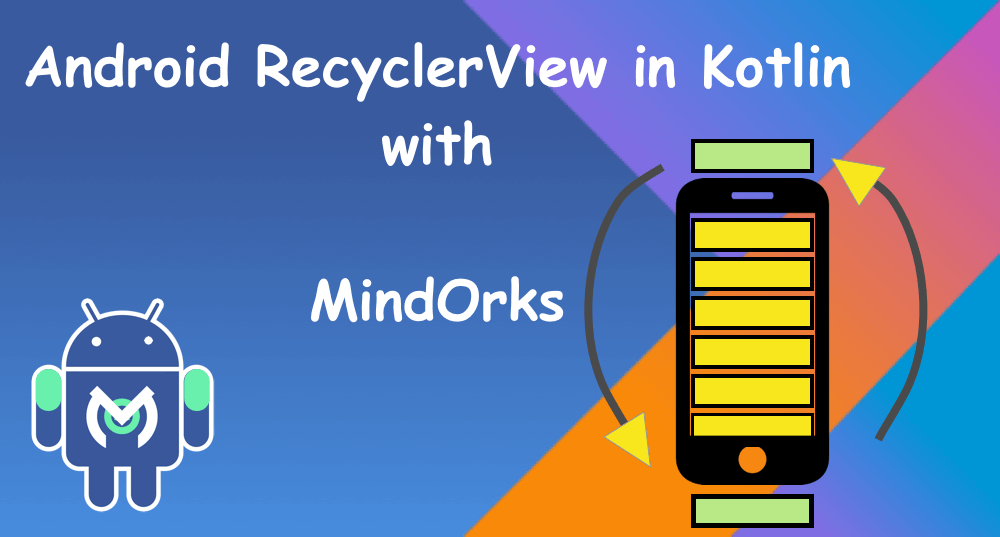
We all had seen some kind of list in the app which we are using daily, Let’s take an example of WhatsApp where you have a list of people. Let’s say if the view is displaying 0 to 9 items at a time, means recycler view had created those and bind the data with it and also RecyclerView had bound the data of the 10th item. So, if the user scroll, the next time is ready to display.Now, if user scroll, RecyclerView had to create the 11th item. So this way the items which had gone off the screen, they get reused. This way RecyclerView gets its name.
In this chapter, we are going to develop an app which will display 3 items in the RecyclerView list. Let’s start the development:
- Create a new project and here to use the RecyclerView, we need to add its dependency.
implementation ‘androidx.recyclerview:recyclerview:1.0.0’2. Add RecyclerView in our activity_main.xml which is our main screen layout file.
<?xml version=”1.0" encoding=”utf-8"?>
<androidx.constraintlayout.widget.ConstraintLayout xmlns:android=”http://schemas.android.com/apk/res/android"
 xmlns:tools=”http://schemas.android.com/tools"
 android:layout_width=”match_parent”
 android:layout_height=”match_parent”
 tools:context=”.MainActivity”><androidx.recyclerview.widget.RecyclerView
 android:id=”@+id/rvChapterList”
 android:layout_width=”match_parent”
 android:layout_height=”match_parent” /></androidx.constraintlayout.widget.ConstraintLayout>
3. Now, we need to create a new layout file. This will be layout of the item of the list.
<?xml version=”1.0" encoding=”utf-8"?>
<LinearLayout xmlns:android=”http://schemas.android.com/apk/res/android"
 android:layout_width=”match_parent”
 android:layout_height=”wrap_content”
 android:layout_margin=”8dp”><TextView
 android:id=”@+id/tvChapterName”
 android:layout_width=”wrap_content”
 android:layout_height=”wrap_content”
 android:textSize=”26sp”/>
</LinearLayout>
4. Here, we again need an adapter class same as viewPager, to fill the data and bind with the items.
class ChapterAdapter(private val context: MainActivity, private val chaptersList: ArrayList<String>) :
 RecyclerView.Adapter<ChapterAdapter.ViewHolder>() {override fun onCreateViewHolder(parent: ViewGroup, viewType: Int): ViewHolder {
 return ViewHolder(LayoutInflater.from(context).inflate(R.layout.item_mindorks_chapters, parent, false))
 }override fun getItemCount(): Int {
 return chaptersList.size
 } override fun onBindViewHolder(holder: ViewHolder, position: Int) {
 holder.chapterName?.text = chaptersList.get(position)
 holder.itemView.setOnClickListener {
 Toast.makeText(context, chaptersList.get(position), Toast.LENGTH_LONG).show()
 }
 }class ViewHolder(view: View) : RecyclerView.ViewHolder(view) {
 val chapterName = view.tvChapterName
 }
}
We will extend the adapter class with the RecyclerView.Adapter class.
5. Now, In our MainActivity class, we will create an ArrayList of string which we will pass to the adapter class to display on the RecyclerView.
class MainActivity : AppCompatActivity() {val chaptersList: ArrayList<String> = ArrayList()
 private lateinit var layoutManager: RecyclerView.LayoutManageroverride fun onCreate(savedInstanceState: Bundle?) {
 super.onCreate(savedInstanceState)
 setContentView(R.layout.activity_main)chaptersList.add(“Android MVP Introduction”)
 chaptersList.add(“Learn RxJava”)
 chaptersList.add(“Advance Kotlin”)layoutManager = LinearLayoutManager(this)
 rvChapterList.layoutManager = layoutManager
 rvChapterList.adapter = ChapterAdapter(this, chaptersList)
 }
}
6. Here, we also create a LinearLayoutManager and give it to the layoutManager of RecyclerView. We also set the adapter to the RecyclerView adapter and pass the array list to adapter class.
7. Inside the adapter class we have some override methods:
- onCreateViewHolder() — which set the view to display to the items.
- onBindViewHolder() — this method will fetch the specific data for that item’s position and set to the item view.
- getItemCount() — this will give the count of the items in the list.
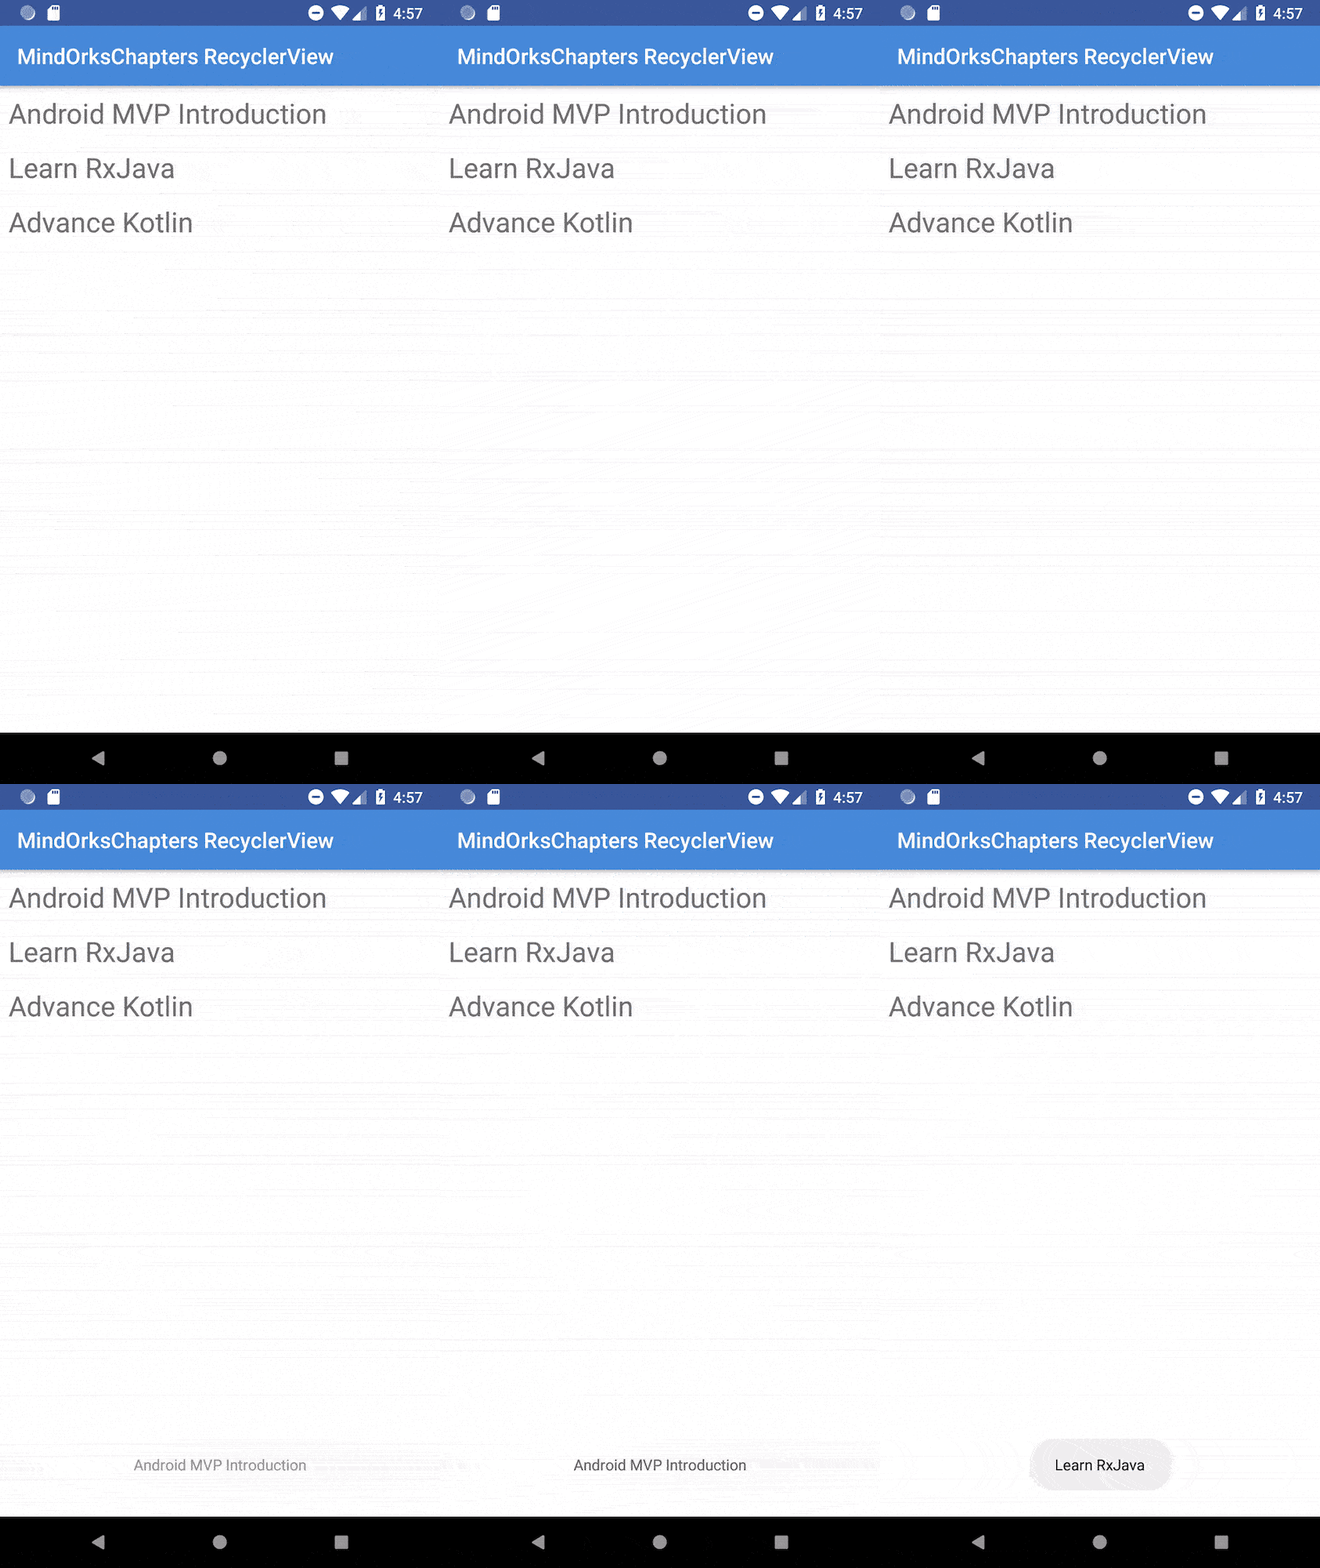
Let's run this application. Great Work!! We had learn how to implement RecyclerView. There is much more in it like how to have a different layout of items in the list, how to have infinite list etc. Try to explore more and share us with on our twitter or slack channel.

