Android Navigation Drawer in Kotlin
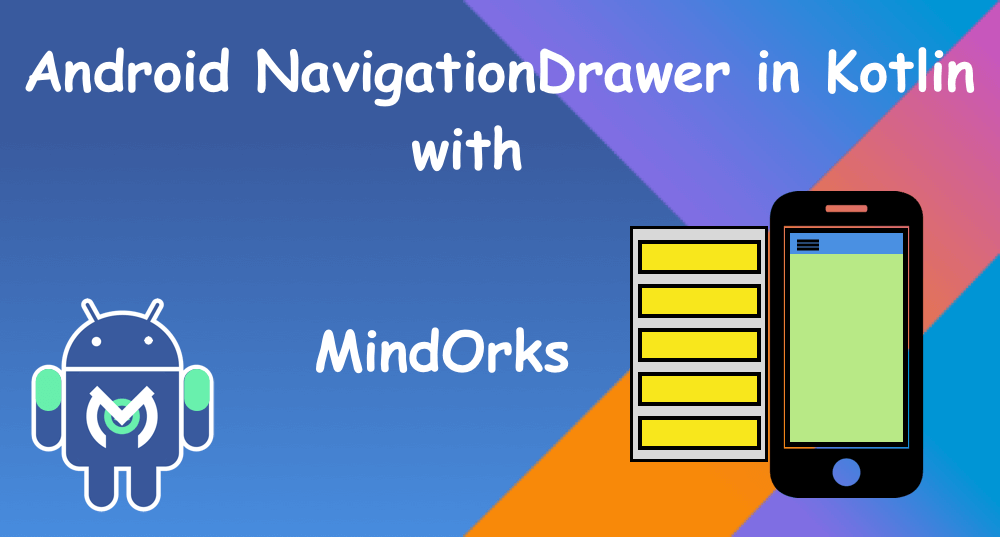
Welcome, In this chapter we are focusing on NavigationDrawer, or we can say NavigationView. NavigationView is the panel which shows you the menu, it’s hidden, but when the user swipes from left to right, this menu bar gets open or from the top when the user touches the hamburger icon (3 horizontal lines).
Before using it in your app, you should be clear when to use it and what are the use cases when an app needs the NavigationView:
- Apps with five or more top-level destinations
- Apps with two or more levels of the navigation hierarchy
- Quick navigation between unrelated destinations
Let’s start the development:
1. Create a new project and add the material dependency where our required navigationView is and sync the project.
implementation ‘com.google.android.material:material:1.0.0’2. First, create the main screen layout where we will see the navigation menu.
<?xml version=”1.0" encoding=”utf-8"?>
<androidx.drawerlayout.widget.DrawerLayout xmlns:android=”http://schemas.android.com/apk/res/android"
 xmlns:app=”http://schemas.android.com/apk/res-auto"
 xmlns:tools=”http://schemas.android.com/tools"
 android:id=”@+id/drawer_layout”
 android:layout_width=”match_parent”
 android:layout_height=”match_parent”
 tools:context=”.MainActivity”><FrameLayout
 android:id=”@+id/content_frame”
 android:layout_width=”match_parent”
 android:layout_height=”match_parent”><androidx.appcompat.widget.Toolbar
 android:id=”@+id/toolbar”
 android:layout_width=”match_parent”
 android:layout_height=”?attr/actionBarSize”
 android:background=”?attr/colorPrimary”
 app:popupTheme=”@style/ThemeOverlay.AppCompat.Light” /></FrameLayout> <com.google.android.material.navigation.NavigationView
 android:id=”@+id/navigationView”
 android:layout_width=”wrap_content”
 android:layout_height=”match_parent”
 android:layout_gravity=”start”
 app:headerLayout=”@layout/nav_header”
 app:menu=”@menu/drawer_view” /></androidx.drawerlayout.widget.DrawerLayout>
3. Here, we have DrawerLayout, which is our parent view, helps us to draw the view on the screen as its child item.
We are also using toolbar and removed the default toolbar from the styles.xml by change the parent theme
<! — Base application theme. →
<style name=”AppTheme” parent=”Theme.AppCompat.Light.NoActionBar”>
 <! — Customize your theme here. →
 <item name=”colorPrimary”>@color/colorPrimary</item>
 <item name=”colorPrimaryDark”>@color/colorPrimaryDark</item>
 <item name=”colorAccent”>@color/colorAccent</item>
</style>
We also have a FrameLayout, so that our navigation view can come over it.
4. We have a NavigationView and two attributes in it:
app:menu=”@menu/drawer_view”
5. We need to declare that what are the items which we need to show in the navigation view, the list of menu.
To create a menu, first, we need to create a menu folder inside res folder. And now, we will create a menu file by right-clicking on the menu and go to the new > menu resource file and create one.
Another, we have
app:headerLayout=”@layout/nav_header”
We need to define the layout which is the header layout in the navigation view, the top part of the navigation view which is mostly used to describe user details or app details.
<?xml version=”1.0" encoding=”utf-8"?>
<LinearLayout xmlns:android=”http://schemas.android.com/apk/res/android"
 android:layout_width=”match_parent”
 android:layout_height=”192dp”
 android:background=”?attr/colorPrimaryDark”
 android:gravity=”bottom”
 android:orientation=”vertical”
 android:padding=”16dp”
 android:theme=”@style/ThemeOverlay.AppCompat.Dark”><TextView
 android:layout_width=”match_parent”
 android:layout_height=”wrap_content”
 android:text=”MindOrks”
android:textAppearance=”@style/TextAppearance.AppCompat.Body1" />
</LinearLayout>
6. The layout part is completed now, let’s move to the kotlin class. Inside our MainActivity, we will first set the toolbar as a actionbar.
setSupportActionBar(toolbar)7. Now, we will set the actionBar to toggle state, which is used when we open and close our navogation view.
8. To get the hamburger icon, we will set the indicator
toggle.isDrawerIndicatorEnabled = true
9. To make our NavigationView interactable, we need to set the listener to it.
For that, we will override the method of its interface.
class MainActivity : AppCompatActivity(), NavigationView.OnNavigationItemSelectedListener{}And set the specific action on menuItem clicks. Here, we are showing the toast message. You can also start a new activity, or open fragment etc.
override fun onNavigationItemSelected(menuItem: MenuItem): Boolean {
    when (menuItem.itemId) {
        R.id.nav_public -> {
            Toast.makeText(this, "Publication", Toast.LENGTH_SHORT).show()
        }
        R.id.nav_store -> {
            Toast.makeText(this, "Android Store", Toast.LENGTH_SHORT).show()
        }
        R.id.nav_news -> {
            Toast.makeText(this, "Newsletter", Toast.LENGTH_SHORT).show()
        }
        R.id.nav_join -> {
            Toast.makeText(this, "Join Community", Toast.LENGTH_SHORT).show()
        }
        R.id.nav_contact -> {
            Toast.makeText(this, "Contact us", Toast.LENGTH_SHORT).show()
        }
    }
    drawer_layout.closeDrawer(GravityCompat.START)
    return true
}
We also need to make sure that if the user press back button, we should check the navigationView should be closed first and then the app. For this, we will override the onBackPressed() method.
override fun onBackPressed() {
    if (drawer_layout.isDrawerOpen(GravityCompat.START)) {
        drawer_layout.closeDrawer(GravityCompat.START)
    } else {
        super.onBackPressed()
    }
}
Let's run this application. Cool!! This is working fine. There is much more in NavigationView like icons in the menu items etc. Try to explore more and share us with on our twitter or slack channel.