Android Bottom Navigation Example in Kotlin
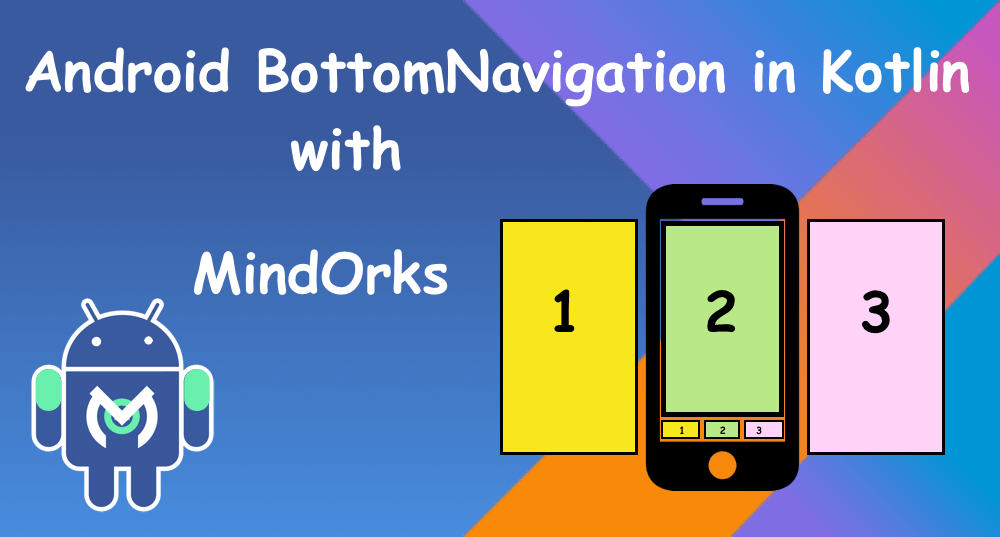
Welcome, here we are going to implement the BottomNavigationView, which you might have seen in the Instagram application, the bottom menu bar.
Let’s start with the development:
Open Android Studio and create a new project. Setup the Constraint layout and also add the dependency of material components and syn the project.
dependencies {
 implementation fileTree(dir: ‘libs’, include: [‘*.jar’])
 implementation”org.jetbrains.kotlin:kotlin-stdlib-jdk7:$kotlin_version”
 implementation ‘androidx.appcompat:appcompat:1.0.2’
 implementation ‘androidx.constraintlayout:constraintlayout:1.1.3’
 implementation ‘com.google.android.material:material:1.0.0’
}
First, create the main screen layout where we will see the bottom navigation bar and also the area above it, we are going to show three different fragments in it, so we need FrameLayout which will hold our fragments.
<?xml version=”1.0" encoding=”utf-8"?>
<androidx.constraintlayout.widget.ConstraintLayout xmlns:android=”http://schemas.android.com/apk/res/android"
 xmlns:app=”http://schemas.android.com/apk/res-auto"
 xmlns:tools=”http://schemas.android.com/tools"
 android:layout_width=”match_parent”
 android:layout_height=”match_parent”
 tools:context=”.MainActivity”><androidx.appcompat.widget.Toolbar
 android:id=”@+id/toolbar”
 android:layout_width=”match_parent”
 android:layout_height=”?attr/actionBarSize”
 android:background=”?attr/colorPrimary”
 app:popupTheme=”@style/ThemeOverlay.AppCompat.Light”
 app:theme=”@style/ThemeOverlay.AppCompat.Dark.ActionBar”/><FrameLayout
 android:id=”@+id/container”
 android:layout_width=”match_parent”
 android:layout_height=”0dp”
 app:layout_behavior=”@string/appbar_scrolling_view_behavior”
 app:layout_constraintBottom_toTopOf=”@+id/bottomNavigationView”
 app:layout_constraintEnd_toEndOf=”parent”
 app:layout_constraintStart_toStartOf=”parent”
 app:layout_constraintTop_toBottomOf=”@id/toolbar”/><com.google.android.material.bottomnavigation.BottomNavigationView
 android:id=”@+id/bottomNavigationView”
 android:layout_width=”0dp”
 android:layout_height=”wrap_content”
 android:layout_marginStart=”0dp”
 android:layout_marginEnd=”0dp”
 android:background=”?android:attr/windowBackground”
 app:itemBackground=”@color/colorPrimary”
 app:itemIconTint=”@android:color/white”
 app:itemTextColor=”@android:color/white”
 app:layout_constraintBottom_toBottomOf=”parent”
 app:layout_constraintLeft_toLeftOf=”parent”
 app:layout_constraintRight_toRightOf=”parent”
 app:layout_constraintTop_toBottomOf=”@id/container”
 app:menu=”@menu/navigation”/></androidx.constraintlayout.widget.ConstraintLayout>
Just like we set menu in navigationView chapter; we also need to set here the menu which we want to show in the bar. We use the attribute
app:menu=”@menu/navigation”Create a menu file in the menu folder, we name the file as navigation.
<?xml version=”1.0" encoding=”utf-8"?>
<menu xmlns:android=”http://schemas.android.com/apk/res/android">
 <item
 android:id=”@+id/navigation_blog”
 android:icon=”@drawable/ic_launcher_foreground”
 android:title=”Blogs”/><item
 android:id=”@+id/navigation_chapter”
 android:icon=”@drawable/ic_launcher_foreground”
 android:title=”Chapters”/><item
 android:id=”@+id/navigation_store”
 android:icon=”@drawable/ic_launcher_foreground”
 android:title=”Android Store”/>
</menu>
Here, we have three items, and we also added the icons. This icon by default you will get in your project. Now, we need three items, so we also need three different fragment classes and one layout file for them.
We are showing the same layout in all three fragments so we will create only one layout file else to show different UI we can also create different layout files.
<?xml version="1.0" encoding="utf-8"?>
<LinearLayout xmlns:android="http://schemas.android.com/apk/res/android"
    android:id="@+id/commonLayout"
    android:layout_width="match_parent"
    android:layout_height="match_parent"
    android:gravity="center">
   <TextView
        android:id="@+id/tvCommon"
        android:layout_width="wrap_content"
        android:layout_height="wrap_content"
        android:textColor="@android:color/white"
        android:textSize="26sp" />
</LinearLayout>
We will create three fragment classes.
class BlogFragment : Fragment() {
   override fun onCreateView(inflater: LayoutInflater, container: ViewGroup?, savedInstanceState: Bundle?): View? =
            inflater.inflate(R.layout.fragment_common, container, false)
   override fun onActivityCreated(savedInstanceState: Bundle?) {
        super.onActivityCreated(savedInstanceState)
    }
}


class ChapterFragment : Fragment() {
   override fun onCreateView(inflater: LayoutInflater, container: ViewGroup?, savedInstanceState: Bundle?): View? =
            inflater.inflate(R.layout.fragment_common, container, false)
   override fun onActivityCreated(savedInstanceState: Bundle?) {
        super.onActivityCreated(savedInstanceState)
    }
}


class StoreFragment : Fragment() {
   override fun onCreateView(inflater: LayoutInflater, container: ViewGroup?, savedInstanceState: Bundle?): View? =
            inflater.inflate(R.layout.fragment_common, container, false)
   override fun onActivityCreated(savedInstanceState: Bundle?) {
        super.onActivityCreated(savedInstanceState)
    }
}
Let’s come back to MainActivity, where we will wire up the fragments with the BottomNavigationView.
First, we need to set the toolbar as actionBar.
setSupportActionBar(toolbar)Now, we will set the listener to the BottomNavigationView and pass the listener item to it.
bottomNavigationView.setOnNavigationItemSelectedListener(mOnNavigationItemSelectedListener)When our application first open, we need to set one of the items already selected to show on the screen. We will check if our savedInstanceState is null we will set one the fragments.
if (savedInstanceState == null) {
    val fragment = BlogFragment()
    supportFragmentManager.beginTransaction().replace(R.id.container, fragment, fragment.javaClass.getSimpleName())
            .commit()
}
How to get the listener item, which we need to pass to the bottomNavigationView?
private val mOnNavigationItemSelectedListener = BottomNavigationView.OnNavigationItemSelectedListener { menuItem ->
    when (menuItem.itemId) {
        R.id.navigation_blog -> {
            val fragment = BlogFragment()
         supportFragmentManager.beginTransaction().replace(R.id.container, fragment, fragment.javaClass.getSimpleName())
                    .commit()
            return@OnNavigationItemSelectedListener true
        }
        R.id.navigation_chapter -> {
            val fragment = ChapterFragment()
            supportFragmentManager.beginTransaction().replace(R.id.container, fragment, fragment.javaClass.getSimpleName())
                    .commit()
            return@OnNavigationItemSelectedListener true
        }
        R.id.navigation_store -> {
            val fragment = StoreFragment()
            supportFragmentManager.beginTransaction().replace(R.id.container, fragment, fragment.javaClass.getSimpleName())
                    .commit()
            return@OnNavigationItemSelectedListener true
        }
    }
    false
}
Here, we are checking which item user will select and what action to perform on click. So, on clicking the item, we are getting the fragment instance and placing the fragment into the FrameLayout.
Let's set some different text on every fragment and different background colors. To do this, we will change the text in onActivityCreated method in our fragment.
tvCommon.text = "Store Fragment"
commonLayout.setBackgroundColor(resources.getColor(android.R.color.darker_gray))


tvCommon.text = "Chapter Fragment"
commonLayout.setBackgroundColor(resources.getColor(android.R.color.holo_green_light))


tvCommon.text = "Blog Fragment"
commonLayout.setBackgroundColor(resources.getColor(android.R.color.holo_orange_dark))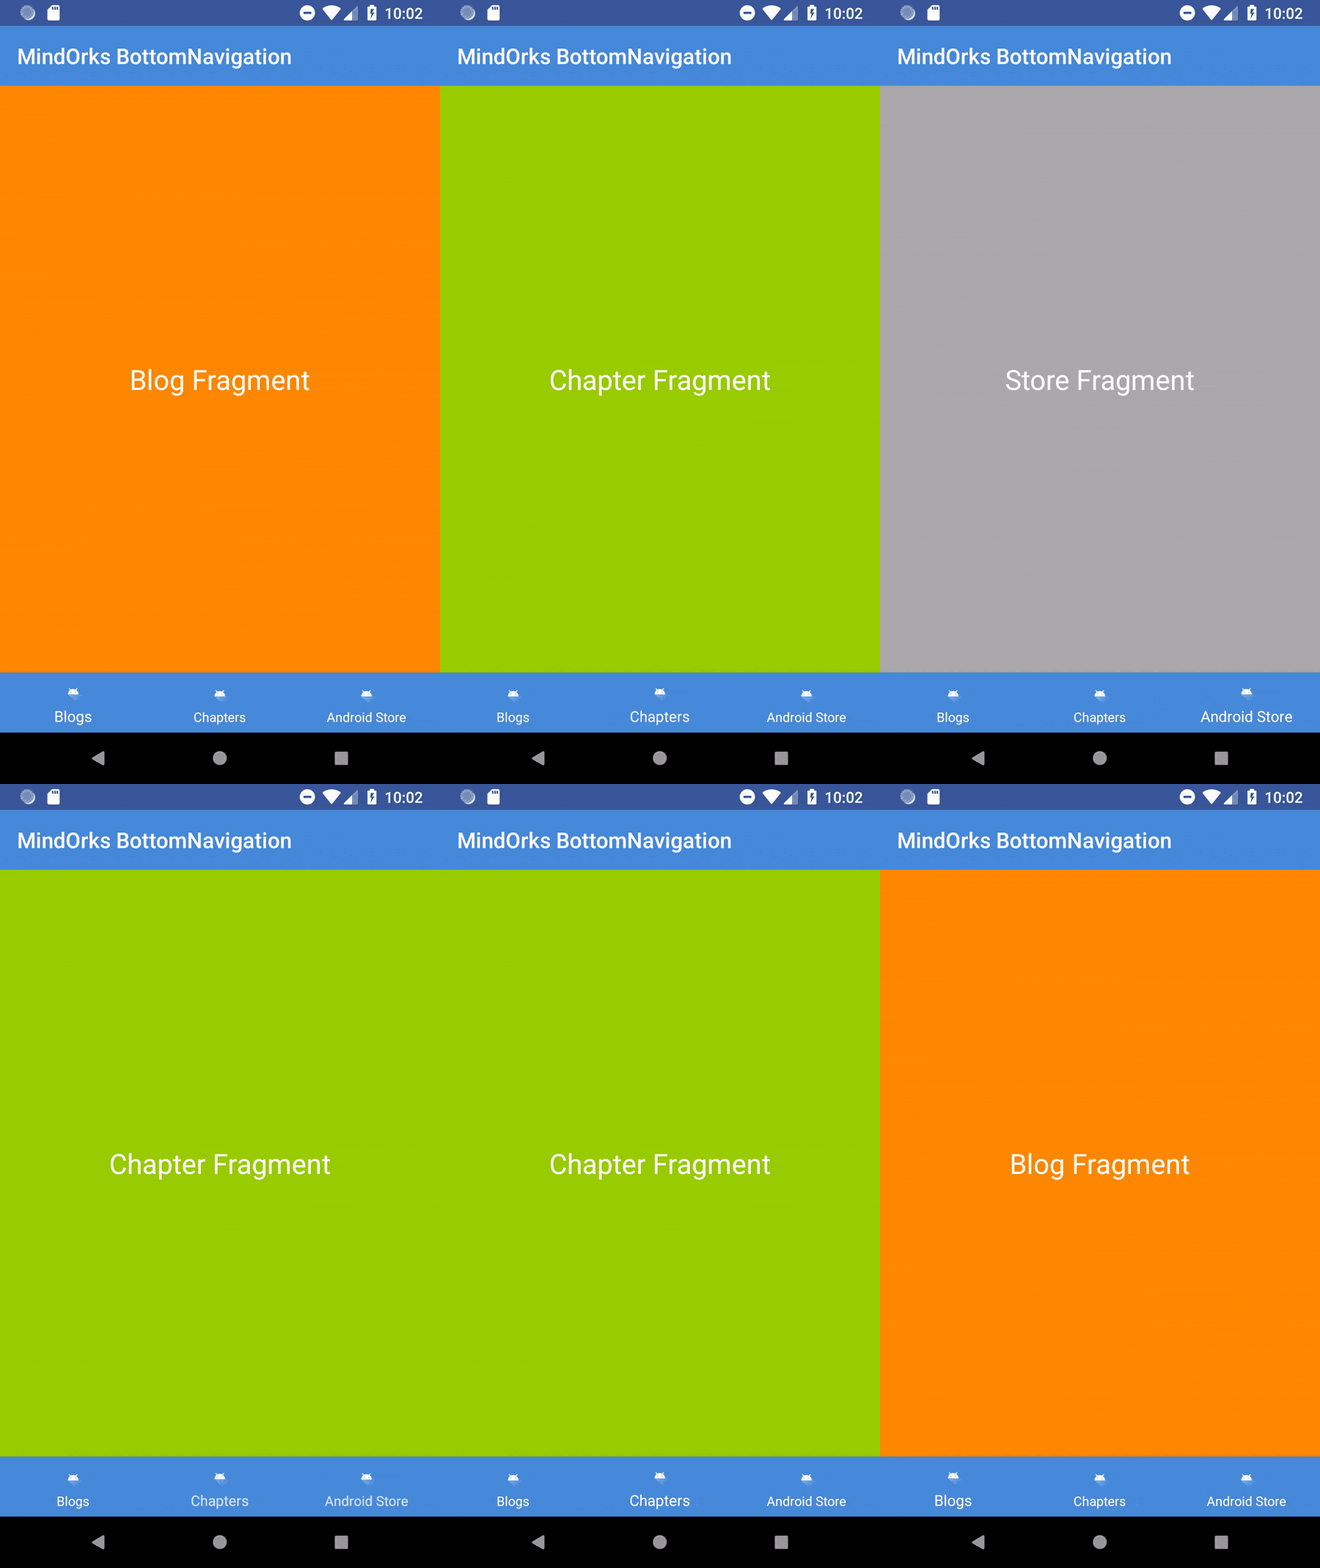
Let’s run this application now, Great Work!! There is much more in it like what if you want to add more items to the menu etc. Try to explore more and share us with on our twitter or slack channel.

