Using Drag-Drop in Android Applications
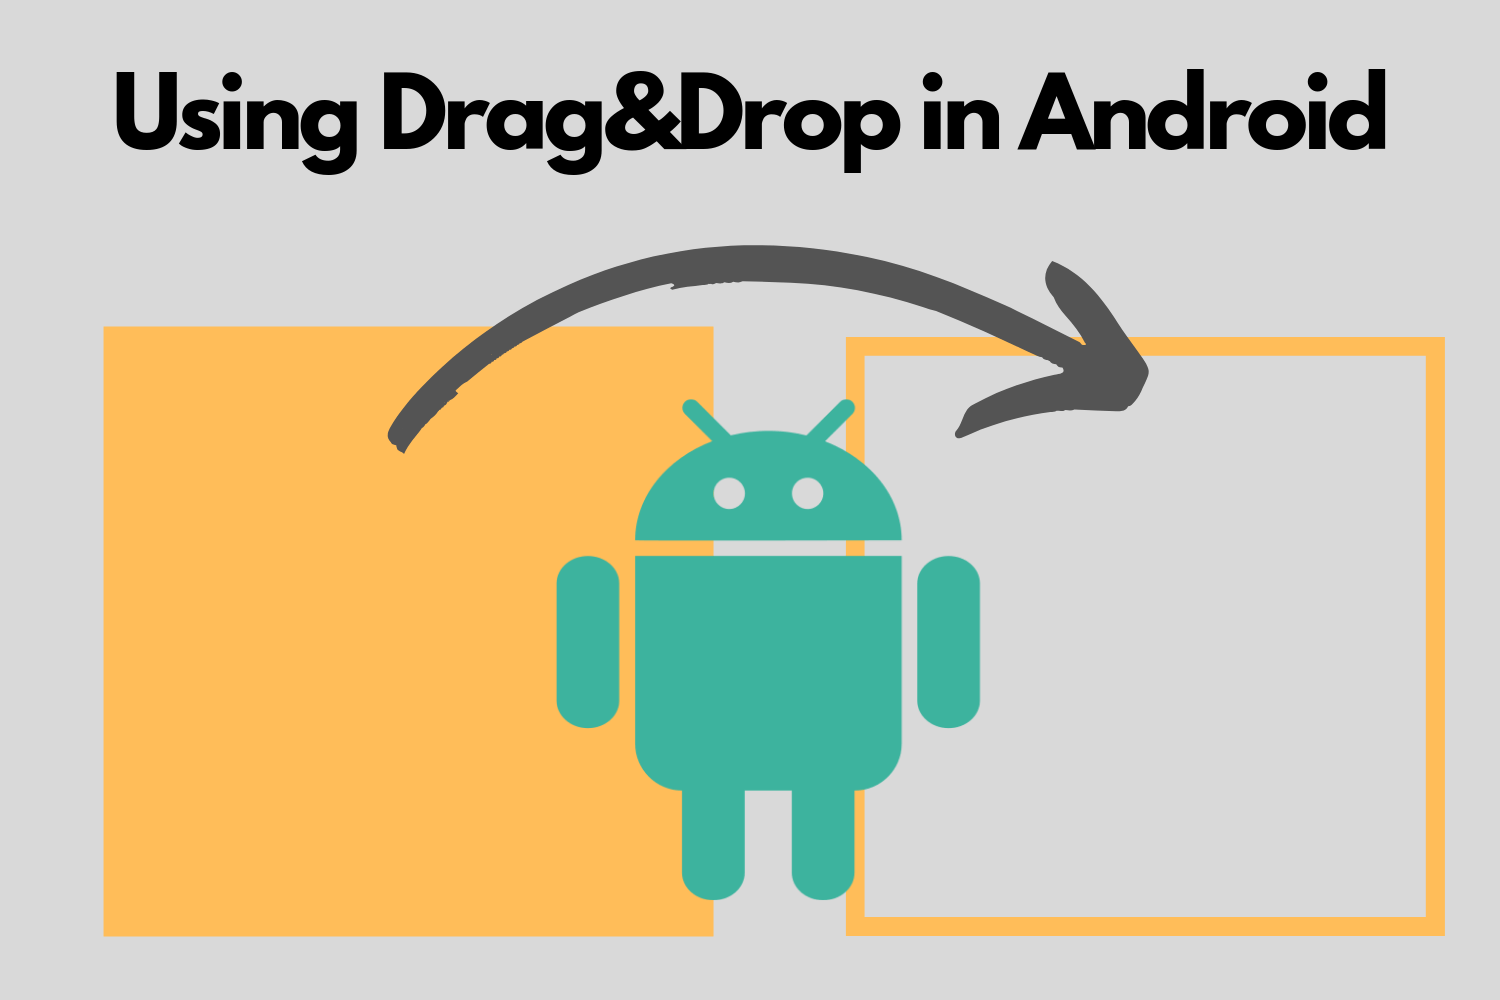
Have you ever used the drag and drop in any application? It may be some Web application or some Android application. In one or the other way, we all have used the drag and drop feature. For example: while sending an attachment in an email, we can drag the requires file to the compose editor of Gmail. Similarly in Android also we all have used the drag and drop feature. For example: in our launcher screen, where every app appears in our mobile device, we can easily drag and drop the app icons from one place to the other.
So, in this blog, we will learn each and every aspect of drag and drop in android. In this blog, we will look upon:
- Overview of Drag and Drop process
- Drag/Drop process
- Drag events
- Drag and Drop example
- Conclusion
So, let’s get started.
Overview of Drag and Drop process
Drag and Drop framework in Android allows you to drag and drop one view to other i.e. in an Activity, if you are having two or more view then you can move the data of one view form view to the other using the drag and drop framework of Android. For example: if your Android activity has two TextView, one TextView in one half and the other on the other half of the screen, then the data of first TextView can be dragged and dropped to the other TextView present.
This fragment was designed to share data from one view to the other but this fragment can also be used to interchange or drag/drop one UI element with the other.
In order to start a drag and drop process in your app, you have to make some gesture on the Android screen. By doing so, your Android device will come to know that the drag and drop process is going to happen. So, the application will alert or simply sends the message to the system that some drag and drop process is going to happen. After that, as your fingers will move on the screen, the system sends drag events to the drag event listener object and after that, the methods associated with the drag event will be called.
Your application uses the startDrag() method to tell the system that a drag event is being called. This method also sends the data from one view to others.
Drag/Drop process
In a drag and drop process, there are four steps associated with it. They are:
- Started: This step is called when the user sends some gesture to indicate that the drag and drop process is going to happen. Your application will call the startDrag() method to tell the system that some drag and drop process is going to happen. This startDrag() method will give the data of the view as well the UI element of the view. After that the system sends the event type to the drag event listener i.e. the system identifies which type of drag is going to be performed and sends the data to the drag event listener. If you want to receive a drag event with some corresponding drop event then the drag event listener must return the true value. If it is so, the drag event listener will be registered with the system. If the drag event listener returns false, then the drag event listener tells the system that it is no longer interested in any type of drag event and after that, the system will not allow the application to perform the drag event.
- Continuing: If the drag event listener returns the true value, then the application can start the drag event. In the continuing state, the drag event is being performed i.e. it has started but has not completed. For example: If you want to drag a TextView named tv1 from position 1 to position 2, then the intermediate states between position 1 and position 2 are in the continuing state.
- Dropped: If the user is dragging some view from one view to other then the user can drop the view anywhere on the screen. But the thing to be noted here is that you can drop the dragged element in any part of the screen but the dropped event will be called only when if you drop the view in a view that is associated with the drag event. For example: If you are having two views namely view 1 and view2. View1 is having a drag-able item, and the drag event is associated with view1 only, then if you drop the item in view1 then the dropped state will be called but if you drop the item in the view2 then no drop state will be called because the drag event is not associated with the view2.
- Ended: When the user drops the item after dragging and all the event associated with that drop state is called then the systems sends an indication to the application that the drop action is over and all the required function is called. So, the system indicates that the drag and drop event has come into the ended state.
Drag events
When startDrag() function is called, then the system identifies the type of drag event that is currently taking place and return the drag event to the application. It sends out a drag event in the form of a DragEvent object. getAction() is used to identify which type of drag event is taking place. There are six possible values of the drag event. They are:
- ACTION_DRAG_STARTED: This event action type is received just after the startDrag() is called.
- ACTION_DRAG_ENTERED: This is received when you enter into the drag event listener. The drag event will be continued if the listener returns true otherwise, drag event will be suspended.
- ACTION_DRAG_LOCATION: This is received when the drag is taking place i.e. the user is dragging the item from one place to other.
- ACTION_DRAG_EXITED: This is received when you received the value of ACTION_DRAG_ENTERED and ACTION_DRAG_LOCATION and the user has moved the drag-able item outside the bounding box.
- ACTION_DROP: This is received when the user drops the drag-able item and after that, the system starts calling the drop event corresponding to the drag event.
- ACTION_DRAG_ENDED: This is received when the drag action has ended and the system wants to inform the application that the drag and drop or only drag operation has taken place and the function associated with the event is called.
Drag and Drop example
Now we are done with the theory part. So, let’s implement the drag and drop feature in our app.
In this example, we will drag and drop a text view from one place to another in a bounding area and this bounding area is half of the screen on my case.
So, firstly add the layout file for the application. Add the below code to main_activity.xml
<?xml version="1.0" encoding="utf-8"?>
<RelativeLayout
        xmlns:android="http://schemas.android.com/apk/res/android"
        android:layout_width="match_parent"
        android:layout_height="match_parent">
    <LinearLayout
            android:layout_width="match_parent"
            android:id="@+id/ll_pinklayout"
            android:orientation="vertical"
            android:layout_height="350dp"
            android:background="#FF8989">
        <TextView
                android:layout_width="wrap_content"
                android:layout_height="wrap_content"
                android:id="@+id/tv_dropdrop"
                android:text="Drag Text"
                android:textSize="24sp"
                android:layout_margin="16dp"
                android:textColor="#000000"/>
    </LinearLayout>
</RelativeLayout>
So, we are done with the layout part. This will add a LinearLayout of 350dp height and a TextView inside that LinearLayout.
Now, move on to our MainActivity.kt part. Following is the code:
package com.sumit.dragdrop

import android.os.Bundle
import android.support.v7.app.AppCompatActivity
import android.util.Log
import android.view.DragEvent
import android.view.MotionEvent
import android.view.View
import android.view.ViewGroup
import android.widget.LinearLayout
import kotlinx.android.synthetic.main.activity_main.*

class MainActivity: AppCompatActivity(), View.OnTouchListener, View.OnDragListener {
    private val TAG = MainActivity::class.java.simpleName
    override fun onCreate(savedInstanceState: Bundle?) {
        super.onCreate(savedInstanceState)
        setContentView(R.layout.activity_main)
        setListeners()
    }
    private fun setListeners() {
        tv_dropdrop.setOnTouchListener(this)
        ll_pinklayout.setOnDragListener(this)
    }
    override fun onDrag(view:View, dragEvent: DragEvent):Boolean {
        Log.d(TAG, "onDrag: view->$view\n DragEvent$dragEvent")
        when (dragEvent.action) {
            DragEvent.ACTION_DRAG_ENDED -> {
                Log.d(TAG, "onDrag: ACTION_DRAG_ENDED ")
                return true
            }
            DragEvent.ACTION_DRAG_EXITED -> {
                Log.d(TAG, "onDrag: ACTION_DRAG_EXITED")
                return true
            }
            DragEvent.ACTION_DRAG_ENTERED -> {
                Log.d(TAG, "onDrag: ACTION_DRAG_ENTERED")
                return true
            }
            DragEvent.ACTION_DRAG_STARTED -> {
                Log.d(TAG, "onDrag: ACTION_DRAG_STARTED")
                return true
            }
            DragEvent.ACTION_DROP -> {
                Log.d(TAG, "onDrag: ACTION_DROP")
                val tvState = dragEvent.localState as View
                Log.d(TAG, "onDrag:viewX" + dragEvent.x + "viewY" + dragEvent.y)
                Log.d(TAG, "onDrag: Owner->" + tvState.parent)
                val tvParent = tvState.parent as ViewGroup
                tvParent.removeView(tvState)
                val container = view as LinearLayout
                container.addView(tvState)
                tvParent.removeView(tvState)
                tvState.x = dragEvent.x
                tvState.y = dragEvent.y
                view.addView(tvState)
                view.setVisibility(View.VISIBLE)
                return true
            }
            DragEvent.ACTION_DRAG_LOCATION -> {
                Log.d(TAG, "onDrag: ACTION_DRAG_LOCATION")
                return true
            }
            else -> return false
        }
    }
    override fun onTouch(view:View, motionEvent: MotionEvent):Boolean {
        Log.d(TAG, "onTouch: view->view$view\n MotionEvent$motionEvent")
        return if (motionEvent.action === MotionEvent.ACTION_DOWN) {
            val dragShadowBuilder = View.DragShadowBuilder(view)
            view.startDrag(null, dragShadowBuilder, view, 0)
            true
        } else {
            false
        }
    }
}
In the above example, we have handled each and every event associated with the drag event.
onTouch() function is used here to tell the system that some drag operation is going to be handled by the touch gesture. By doing so, whenever we touch the TextView, the startDrag() function will be called and the events associated with the drag event i.e. the ACTION_DRAG_ENDED, ACTION_DRAG_EXITED, ACTION_DROP, and other events were called and actions were performed accordingly.
Just run the app and try to drag and drop the TextView. Also, try to drop the TextView in the unbounded area.
Conclusion
In this blog, we learned how to use drag and drop feature in our Android app. We learned many events that are associated with the drag event. At last, we did one example on drag and drop feature. So, you can build more application on drag and drop using the above concept in Android.
Keep Learning :)
Team MindOrks


