Implement In-App Purchases in Android
In this blog, we are going to learn about how can we make in-app purchases in Android devices using the billing library.
We will build an app in the process, which will help us understand the implementation of In-App purchases. So before any delay, let's start
We will create an app with an Empty Activity as initial activity and name it as MainActivity and its XML file as activity_main.xml. (This project will be in Kotlin)
Step 01:
Add the following line to the dependencies section of the
build.gradle
file for your app:
dependencies {
    ...
    implementation 'com.android.billingclient:billing:2.0.3'
}
Step 02:
Also, you need to add the billing permission in the app's Android manifest.
<uses-permission android:name="com.android.vending.BILLING" />And, now when we are done with setting the permission and dependency we have to start the implementation to set up the connection with Google Play to get started.
Step 03:
In MainActivity, we will create two variables.
class MainActivity : AppCompatActivity() {
    private lateinit var billingClient: BillingClient
    private val skuList = listOf("test_product_one", "test_product_two")
    ........
Here, the first variable we have created is of type BillingClient, which provides the Main interface for communication between the library and user application code and we create a list of SKUs that specify the list of product IDs we have to be purchased.
Step 04:
Now, in the onCreate() method we will set up the billing client using,
class MainActivity : AppCompatActivity(), PurchasesUpdatedListener {

    //The variables we declared above

    override fun onCreate(savedInstanceState: Bundle?) {
        ..........
        setupBillingClient()
    }

    private fun setupBillingClient() {
        billingClient = BillingClient.newBuilder(this)
            .enablePendingPurchases()
            .setListener(this)
            .build()
        billingClient.startConnection(object : BillingClientStateListener {
            override fun onBillingSetupFinished(billingResult: BillingResult) {
                if (billingResult.responseCode == BillingClient.BillingResponseCode.OK) {
                    // The BillingClient is setup successfully
                }
            }

            override fun onBillingServiceDisconnected() {
                // Try to restart the connection on the next request to
                // Google Play by calling the startConnection() method.

            }
        })

}
Step 05:
Now Let's set up the purchasing product in our play console.
- First, Login to your play console and click CREATE APPLICATION.
- Set up your app as usual how you do for all other apps like providing the information of App name, App description, etc.
- Get all required information like Store listing, Ratings etc and reach to point where you just need to just upload the APK or AAB file.
Now, when you are done executing the above steps we need to create PRODUCTS which we can purchase. To do it,
From on the left menu,
StorePresence -> In-app products tab -> Create managed product
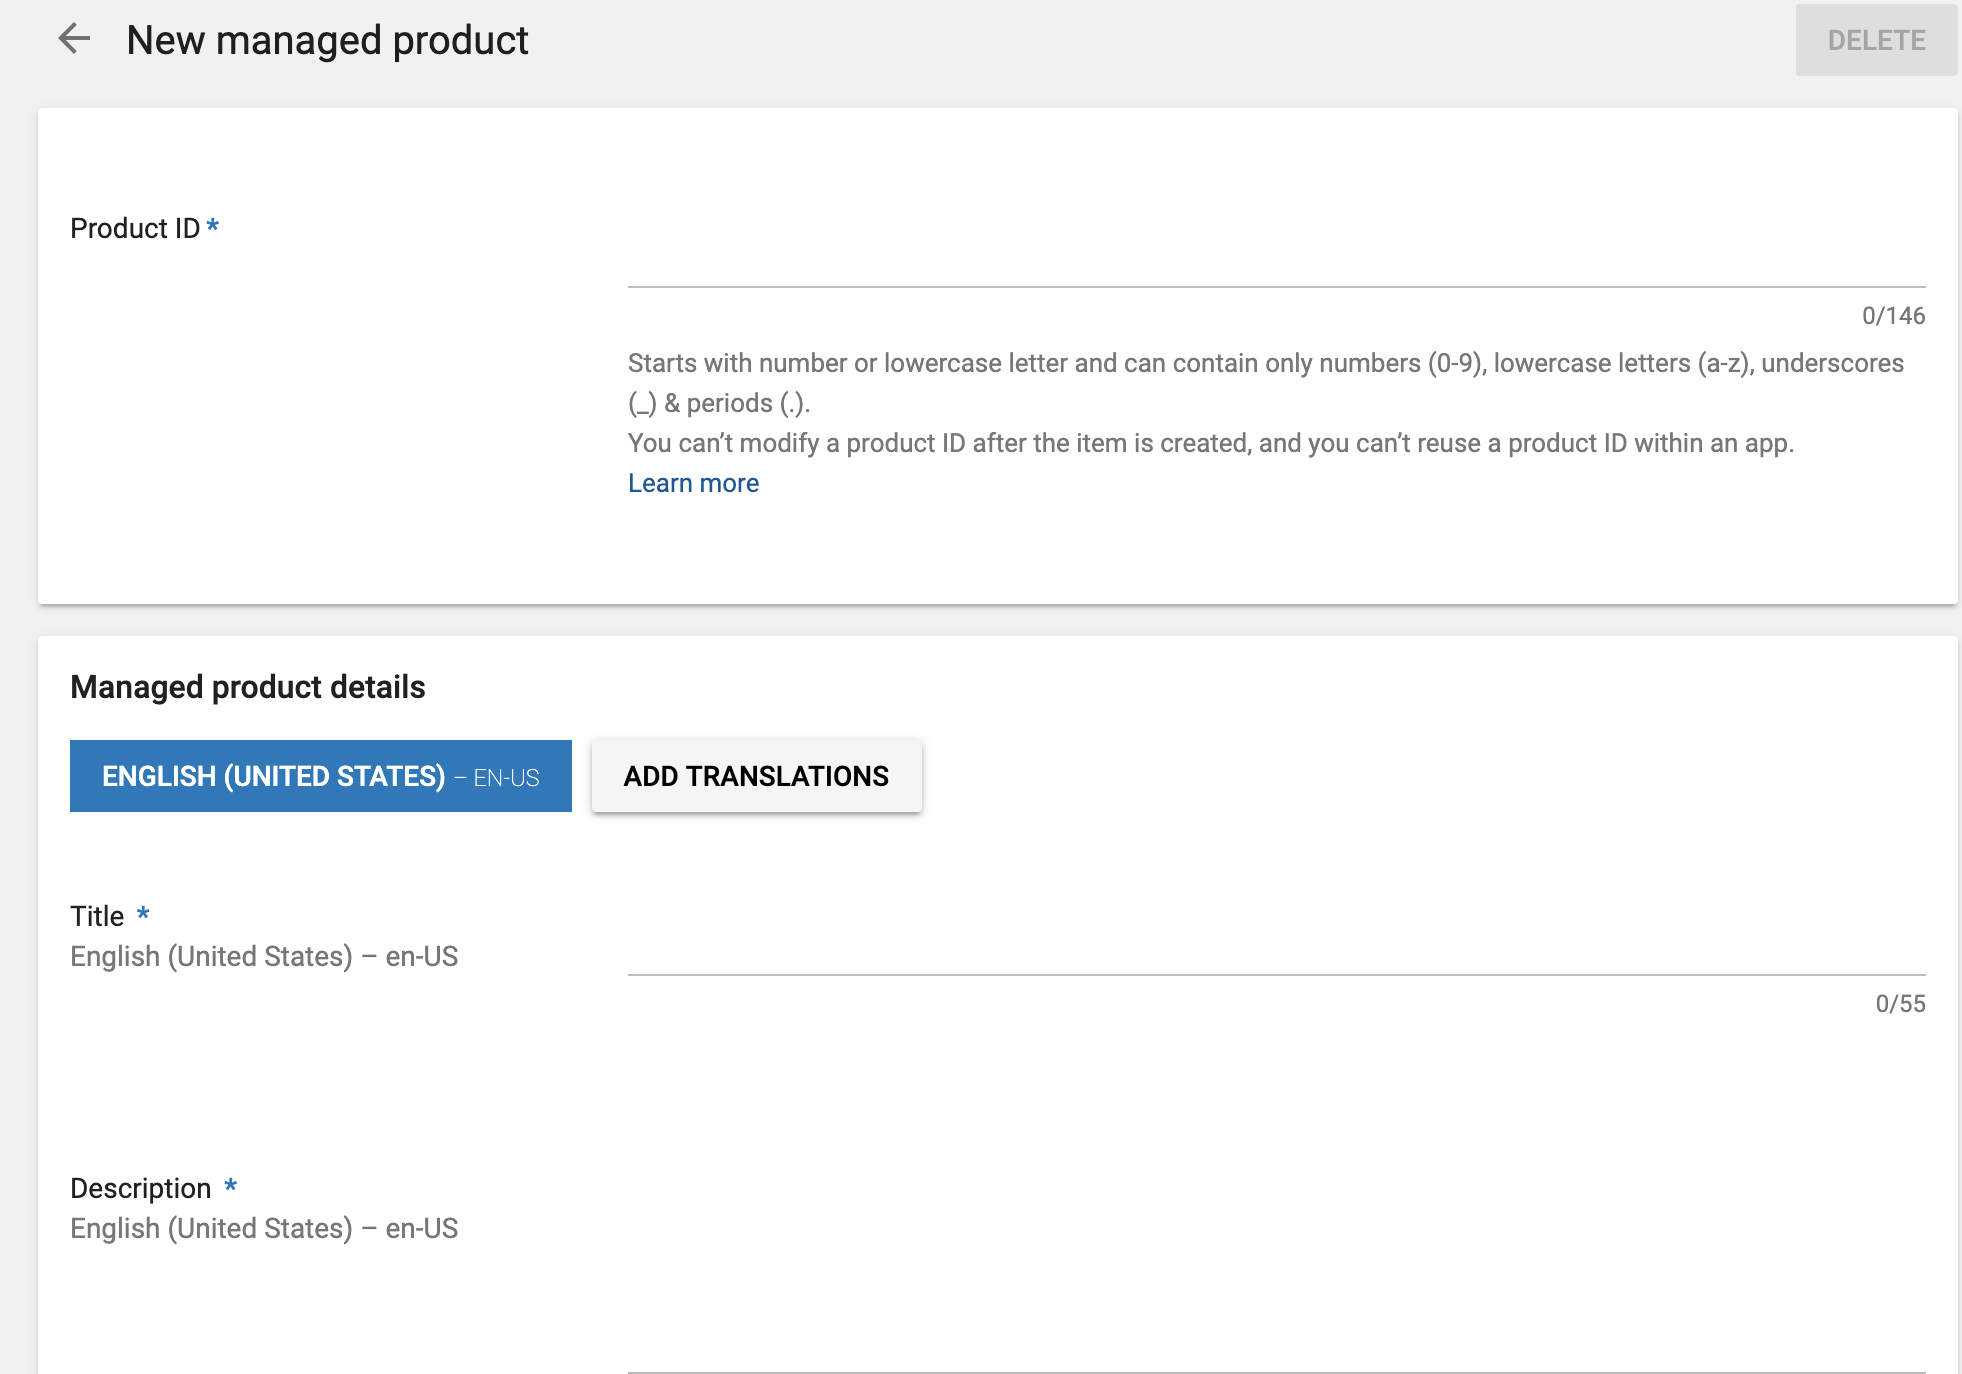
Here, product ID has to be unique and this is what we have to play within our code. If you remember we had a list of SKUs
private val skuList = listOf("test_product_one", "test_product_two")that string values are nothing but product ID. So now to the setup we will add test_product_one and test_product_two as product ID and will add rest of the details.
Now, when we are done with filling up the above info we need to scroll down to make it active and add the price of the product
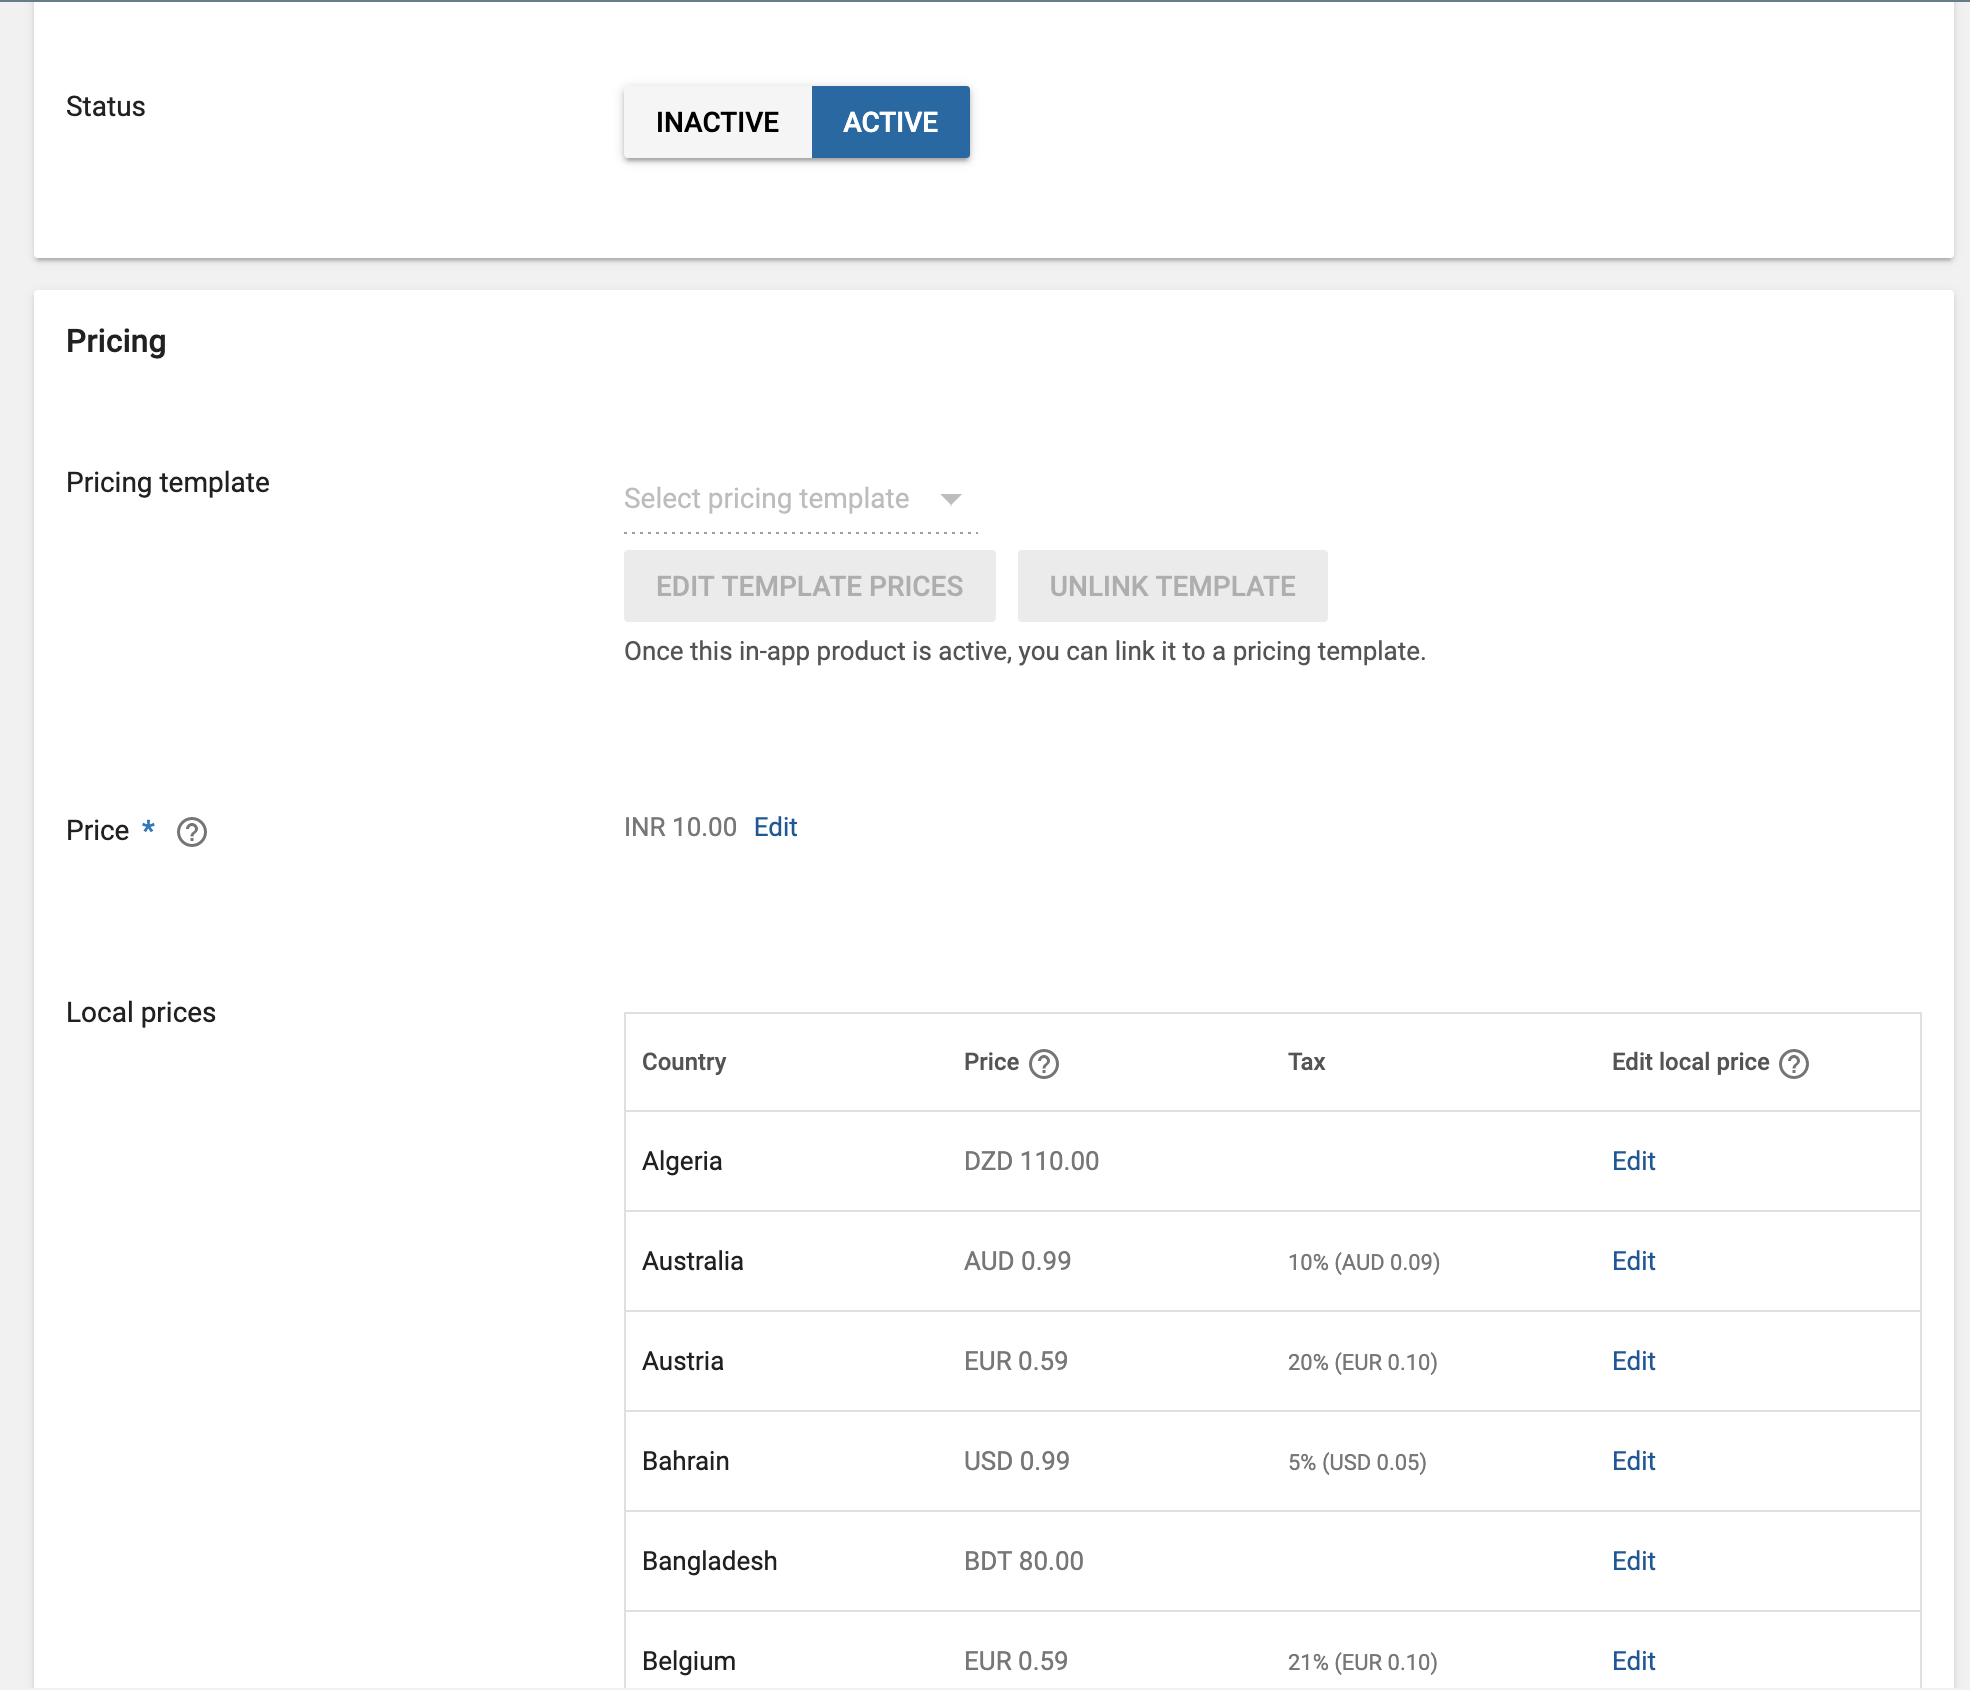
and just press Save.
You now have successfully created your first product on play console. Add both the SKUs one by one and jump back to the code.
Step 06:
In setup billing method, if we have successfully connected to the Billing Client then we query all the SKUs,
private fun setupBillingClient() {
    billingClient = BillingClient.newBuilder(this)
        .enablePendingPurchases()
        .setListener(this)
        .build()
    billingClient.startConnection(object : BillingClientStateListener {
        override fun onBillingSetupFinished(billingResult: BillingResult) {
            if (billingResult.responseCode == BillingClient.BillingResponseCode.OK) {
                // The BillingClient is setup
                logger("Setup Billing Done")
                loadAllSKUs()
            }
        }
        override fun onBillingServiceDisconnected() {
            logger("Failed")

        }
    })

}
and in loadAllSKUs(),
private fun loadAllSKUs() = if (billingClient.isReady) {
    val params = SkuDetailsParams
        .newBuilder()
        .setSkusList(skuList)
        .setType(BillingClient.SkuType.INAPP)
        .build()
    billingClient.querySkuDetailsAsync(params) { billingResult, skuDetailsList ->
        // Process the result.
        if (billingResult.responseCode == BillingClient.BillingResponseCode.OK && skuDetailsList.isNotEmpty()) {
            for (skuDetails in skuDetailsList) {
                //this will return both the SKUs from Google Play Console
            }
        }
    }

} else {
    println("Billing Client not ready")
}
Here, SkuDetailsParams is used to query the for SKU details and in setType, we are just calling INAPP type. Then we just query the result asynchronously. and get the SKUs if the Response code is Successful and the SKUs are created successfully in the Google Console.
Step 07:
Now we will design our XML file where we will add a button to purchase the item with SKU name test_product_two. The XML looks like,
<androidx.constraintlayout.widget.ConstraintLayout xmlns:android="http://schemas.android.com/apk/res/android"
    xmlns:app="http://schemas.android.com/apk/res-auto"
    xmlns:tools="http://schemas.android.com/tools"
    android:layout_width="match_parent"
    android:layout_height="match_parent"
    tools:context=".MainActivity">

    <Button
        android:layout_width="wrap_content"
        android:layout_height="wrap_content"
        android:id="@+id/buttonBuyProduct"
        android:text="Buy your product"
        app:layout_constraintBottom_toBottomOf="parent"
        app:layout_constraintLeft_toLeftOf="parent"
        app:layout_constraintRight_toRightOf="parent"
        app:layout_constraintTop_toTopOf="parent" />

</androidx.constraintlayout.widget.ConstraintLayout>
Step 08 :
Now we will implement the click listener to set up the purchase. In the success callback of SKU fetching which we did in step 06, we will add
if (billingResult.responseCode == BillingClient.BillingResponseCode.OK && skuDetailsList.isNotEmpty()) {
    for (skuDetails in skuDetailsList) {
        if (skuDetails.sku == "test_product_two")
            buttonBuyProduct.setOnClickListener {
                val billingFlowParams = BillingFlowParams
                    .newBuilder()
                    .setSkuDetails(skuDetails)
                    .build()
                billingClient.launchBillingFlow(this, billingFlowParams)
            }
    }
}
Here, BillingFlowParams initiates the purchase flow with the specific SKU detail and when the click happens, the billingClient launches the billing flow to start the purchase of specific SKU.
Step 09
When the purchase of SKU starts, we will handle the purchase using,
override fun onPurchasesUpdated(
    billingResult: BillingResult?,
    purchases: MutableList<Purchase>?
) {
    if (billingResult?.responseCode == BillingClient.BillingResponseCode.OK && purchases != null) {
        for (purchase in purchases) {
            acknowledgePurchase(purchase.purchaseToken)

        }
    } else if (billingResult?.responseCode == BillingClient.BillingResponseCode.USER_CANCELED) {
        // Handle an error caused by a user cancelling the purchase flow.

    } else {
        // Handle any other error codes.
    }
}


private fun acknowledgePurchase(purchaseToken: String) {
    val params = AcknowledgePurchaseParams.newBuilder()
        .setPurchaseToken(purchaseToken)
        .build()
    billingClient.acknowledgePurchase(params) { billingResult ->
        val responseCode = billingResult.responseCode
        val debugMessage = billingResult.debugMessage

    }
}
Step 10:
Now, we are done. Just generate a Signed APK and upload it to the Play Console and wait for the App to get accepted. One done follow the next step.
Step 11
This will prompt a Bottom View like,

Now, we just need to set up the card and purchase it. We are using Debug to test so that is the reason we have Test Card.
You can find the complete code for this project here
Happy learning
Team MindOrks :)