
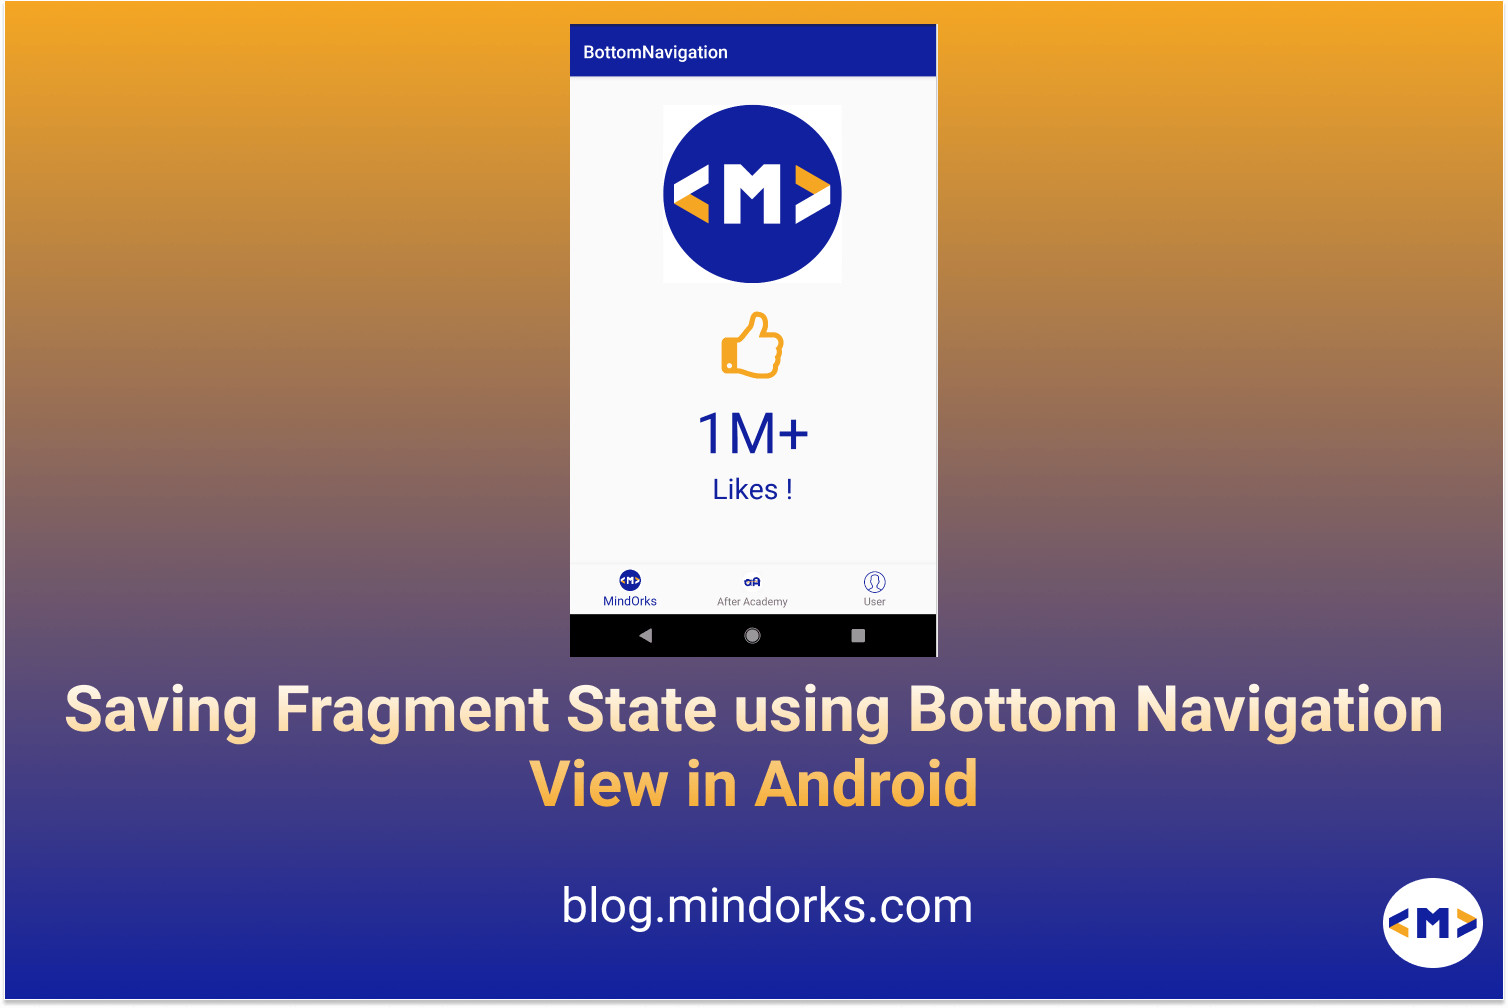
Saving Fragment States with BottomNavigationView
Activities and Fragments form the base of the UI layer in Android applications. It has become a common practice to load the UI with multiple fragments Eg: Instagram, Twitter, and many more popular apps.
Imagine if you were browsing some tweets in the HomeFragment of the Twitter app, navigated to the search screen, and then came back to the Home Screen only to realize that the Home Screen is reloaded again and shows the first tweet! This is not a good user experience since the user has to scroll to the previous tweet again.
In this article, let’s learn a simple way to handle and avoid the recreation of these fragments and save their states. Since we will be using multiple fragments on a single activity, we will be using a BottomNavigation View.
Welcome to our MindOrks blog on “Saving Fragment States with BottomNavigationView”
As always, we will be quickly understanding this with the help of an example project.
Create a Project
- Start a new Android Studio Project
- Select Empty Activity and Next
- Name: Anything of your choice
- Package name: Anything of your choice
- Language: Kotlin
- Finish
- Your starting project is ready now
Let’s add the material dependency required for Bottom Navigation View:
//Material Design
implementation 'com.google.android.material:material:1.1.0'
Before we add the Bottom Navigation view to our activity_main.xml, we need to create a menu resource for the icons and text for the different fragments to be displayed on our bottom navigation view!
Navigation.xml file from our menu resource folder:
<?xml version="1.0" encoding="utf-8"?>
<menu xmlns:android="http://schemas.android.com/apk/res/android">
    <item
        android:id="@+id/navigation_mindorks"
        android:icon="@drawable/mindorks"
        android:title="@string/mindOrks"  />
    <item
        android:id="@+id/navigation_afterAcademy"
        android:icon="@drawable/afteracademy"
        android:title="@string/after_academy" />
    <item
        android:id="@+id/navigation_user"
        android:icon="@drawable/user"
        android:title="@string/user" />
</menu>
Now, let’s add the bottom Navigation view component in our layout file!
activity_main.xml
<?xml version="1.0" encoding="utf-8"?>
<androidx.constraintlayout.widget.ConstraintLayout xmlns:android="http://schemas.android.com/apk/res/android"
    xmlns:app="http://schemas.android.com/apk/res-auto"
    xmlns:tools="http://schemas.android.com/tools"
    android:layout_width="match_parent"
    android:layout_height="match_parent"
    tools:context=".ui.activity.MainActivity">
    <include
        layout="@layout/content_main"
        android:id="@+id/container"
        app:layout_constraintBottom_toTopOf="@+id/bottomNavigationView"
        app:layout_constraintTop_toTopOf="parent"
        app:layout_constraintStart_toStartOf="parent"
        app:layout_constraintEnd_toEndOf="parent"/>
    <com.google.android.material.bottomnavigation.BottomNavigationView
        android:layout_width="match_parent"
        android:layout_height="wrap_content"
        app:layout_constraintBottom_toBottomOf="parent"
        app:layout_constraintStart_toStartOf="parent"
        app:layout_constraintEnd_toEndOf="parent"
        android:background="?android:attr/windowBackground"
        app:menu="@menu/navigation"
        android:id="@+id/bottomNavigationView"/>
</androidx.constraintlayout.widget.ConstraintLayout>
The layout that we have included here is our layout to hold the fragment. So, let’s go ahead and design it.
content_main.xml:
<?xml version="1.0" encoding="utf-8"?>
<FrameLayout
    xmlns:android="http://schemas.android.com/apk/res/android"
    xmlns:app="http://schemas.android.com/apk/res-auto"
    android:layout_width="match_parent"
    android:layout_height="match_parent"
    android:id="@+id/container"
    app:layout_behavior="@string/appbar_scrolling_view_behavior">
</FrameLayout>
What is this app about?
We are just going to develop a simple app that has three fragments: MindOrksFragment, AfterAcademyFragment, and UserFragment.
The MindOrksFragment and the AfterAcademyFragment have two like buttons and two text fields to display the number of likes.
The UserFragment has a click button and a text to display the number of visits.
You can refer to the code for these fragments from the project link .
Our main target in this app is that the fragments should not be recreated when the user switches between them.
So, how can we achieve this?
Let’s create instances for our fragments and a global instance (let’s call it activeFragment) that stores the current fragment to be viewed
private val mindOrksFragment = MindOrksFragment()
private val afterAcademyFragment = AfterAcademyFragment()
private val userFragment = UserFragment()
private val fragmentManager = supportFragmentManager
private var activeFragment: Fragment = mindOrksFragment
Now, let’s add our fragments to our fragment manager:
fragmentManager.beginTransaction().apply {
    add(R.id.container, userFragment, getString(R.string.user)).hide(userFragment)
    add(R.id.container, afterAcademyFragment, getString(R.string.after_academy)).hide(afterAcademyFragment)
    add(R.id.container, mindOrksFragment, getString(R.string.mindOrks))
}.commit()
Now let’s handle onNavigationItemSelected on our BottomNavigationView component:
bottomNavigationView.setOnNavigationItemSelectedListener { menuItem ->
    when (menuItem.itemId) {
        R.id.navigation_mindorks -> {
            fragmentManager.beginTransaction().hide(activeFragment).show(mindOrksFragment).commit()
            activeFragment = mindOrksFragment
            true
        }
        R.id.navigation_afterAcademy -> {
            fragmentManager.beginTransaction().hide(activeFragment).show(afterAcademyFragment).commit()
            activeFragment = afterAcademyFragment
            true
        }
        R.id.navigation_user -> {
            fragmentManager.beginTransaction().hide(activeFragment).show(userFragment).commit()
            activeFragment = userFragment
            true
        }
        else -> false
    }
}
So what are we doing here exactly?
fragmentManager.beginTransaction().hide(activeFragment).show(userFragment).commit()
activeFragment = userFragment
Remember, we have stored our current fragment that should be visible to the user in our activeFragment field.
Based on the tab selected, we will hide the activeFragment and show the selected fragment and update the activeFragment accordingly!
hide() and show()
Instead of adding and replacing our fragments(recreating fragment instances), we are using the helper functions show() and hide() that do not destroy or recreate our fragments but hide and show them instead. This way the user can view the previous state of the fragment since the fragment instances are not destroyed!
If you wish to refer to the different drawable icons and fragment classes discussed in this project, you can refer to this github repo
What’s Next?
- You can replace a fragment UI with a recycler view loading a list of 50+ items, scroll to a random position, switch between fragments, and come back.
- You can apply this logic to a UI containing a Scroll View
We hope that this article has been of some help to you.
Thank you so much for your time!
Keep Learning, Keep Sharing, Keep Supporting!
Team MindOrks!