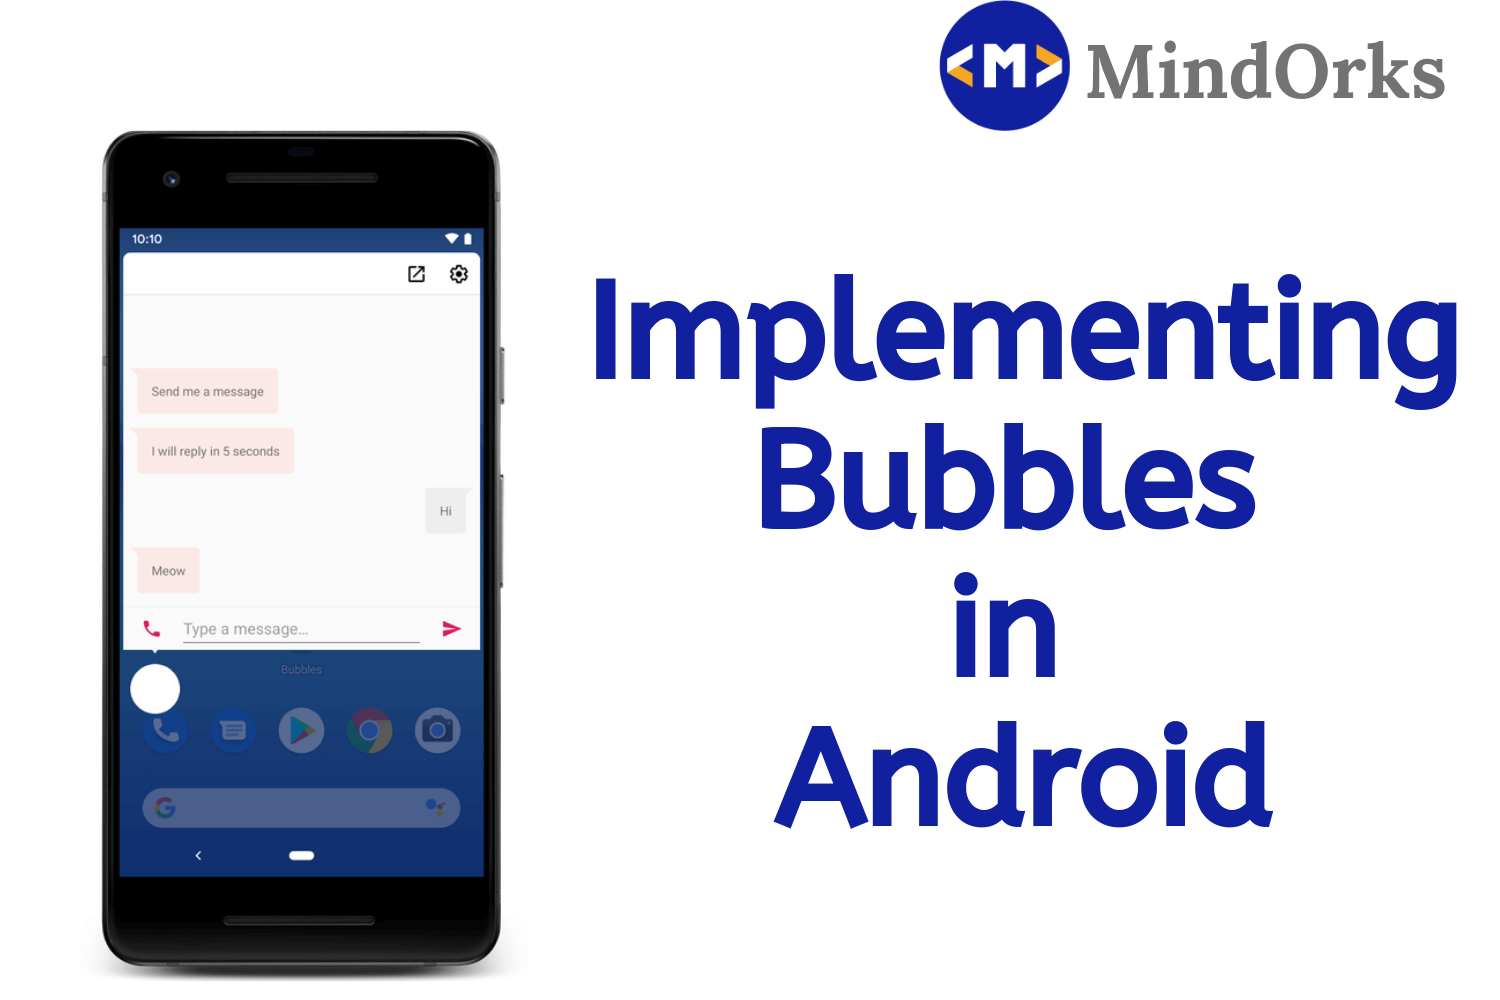
Implementing Bubbles in Android
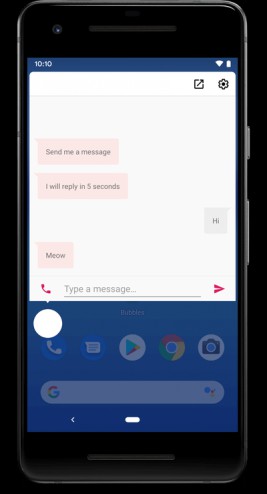
Almost all of us have used the Facebook Messenger app. Apart from the messaging features, it has a very cool feature called Bubbles . So, whenever a message comes in our inbox then that Bubble will be visible on the screen as a message notification. The best part is that an activity can be launched by just pressing the Bubble. For example, in the Facebook Messenger app, when you press the Bubble then the messaging screen will be opened and you can use this messaging screen to send the messages. Below is an example of a bubble taken from the Google Developers Android website:
Adding Bubble feature in your Android application is a very cool idea but the process is very hard and complex. So, to make this process easier and to give a more consistent experience to the users, Bubbles feature was added in the Beta preview of Android Q. So, by using the Bubble API, you can run your application on top of the other applications present in a mobile device.
In this blog, we will learn how to use Bubbles in our Android application. So, let’s get started.
What are the Bubbles?
Bubbles are a new preview feature in Android Q that helps you to do more than one task or to use more than one application from any part of the mobile. For example, if you are using the Gmail app and at a particular instant of time, a message came into your Facebook Messenger app, then at that time, you will notice a Bubble on your screen and you can adjust that bubble to any part of the mobile screen and the best part is that by clicking in the Bubble, you can open the Facebook Messenger app and use it as normal.
Think of a situation, if you are using Youtube app and after a while, you started using the Gmail app and then after some time, you started using some other application. So, what if you want to see the notification of an application all the time? Either you have to open that application at a regular interval or you to have keep that app opened.
But by using Bubbles in your app, you can have an application along with you all the time. No matter which application you are using, the Bubble will be present on top of all the applications.
The Bubbles are created by using the Notification API. So, using Bubble is as simple as using notifications in an application. If you want to Bubble your notification then you have to put some extra data to your notification.
Prerequisites of implementing Bubbles
Before implementing Bubbles in your application, you must have the following:
- Preview version of Android Studio 3.5: In order to have the preview version of Android Studio 3.5, go to the Android Studio website and download the preview version.
- Android Q preview SDK: To install the preview SDK for Android Q, follow the below steps:
- In the Android Studio, click Tools > SDK Manager .
- In the SDK Platforms tab, select Android Q Preview .
- In the SDK Tools tab, select Android SDK Build-Tools 28 (or higher).
- Click OK to begin the install.
After that, change your compileSdkVersion and targetSdkVersion to 29
android {
    compileSdkVersion 29

    defaultConfig {
        targetSdkVersion 29
    }
    ...
}- A device with Android Q Beta or emulator with Android Q Beta(to run your app)
Implementation of Bubbles
If you want an activity to be opened from the Bubble, then you have to define it in the AndroidManifest.xml file:
<activity
  android:name=".bubbles.BubbleActivity"
  android:theme="@style/AppTheme.NoActionBar"
  android:label="@string/title_activity_bubble"
  android:allowEmbedded="true"
  android:documentLaunchMode="always"
  android:resizeableActivity="true"/>
If you want to show multiple Bubbles of the same type then you have to set the documentLaunchMode to “always”.
Now, our BubbleActivtiy is added with the Bubble i.e. the BubbleActivity will be launched form the Bubble.
Note: The Activity launched from the Bubble has the same life cycle as that of normal activity.
Now, let’s move on to the Kotlin part. The very first step that you have to do is making an intent for the Bubble:
// Create bubble intent
val target = Intent(context, BubbleActivity::class.java)
val bubbleIntent = PendingIntent.getActivity(context, 0, target, 0 /* flags */)
After creating intent, create a notification as created earlier, according to your needs:
// Create notification
val chatBot = Person.Builder()
    .setBot(true)
    .setName("BubbleBot")
    .setImportant(true)
    .build()
Now, in order to display a Bubble on your mobile screen, you have to add some BubbleMetaData and connect it with the intent created earlier:
// Create bubble metadata
val bubbleData = Notification.BubbleMetadata.Builder()
    .setDesiredHeight(600)
    // Note: although you can set the icon is not displayed in Q Beta 2
    .setIcon(Icon.createWithResource(context, R.drawable.icon))
    .setIntent(bubbleIntent)
    .build()
By default, you need to click on the Bubbles to expand the contents of the Bubble or to launch the Activity associated with the Bubble. But if you want your Bubble to be automatically opened then you have to set the value of setAutoExpandBubble to true . For example:
val bubbleMetadata = Notification.BubbleMetadata.Builder()
    .setDesiredHeight(600)
    .setIntent(bubbleIntent)
    .setAutoExpandBubble(true)
    .setSuppressInitialNotification(true)
    .build()
Now, after designing the look and feel of Bubble and connecting the Bubble with the intent, our next step is to connect the notification with the Bubble, so that, whenever a notification comes, then the Bubble will be opened.
val builder = Notification.Builder(context, CHANNEL_ID)
    .setContentIntent(contentIntent)
    .setSmallIcon(smallIcon)
    .setBubbleMetadata(bubbleData)
    .addPerson(chatBot
When to use Bubbles?
Using Bubbles in each and every case is not a good practice. You should use Bubbles by taking certain things in considerations:
- If the notification that is to be sent using the Bubble is either very important or the user has opted to have Bubbles for notification.
- You should make sure that the Bubble should also work as normal notification because the feature of Bubbles can be disabled by the user and in that case you have to show your notification in a normal way.
- While using Bubble, make sure to perform very fewer operations using that Bubble.
Conclusion
In this blog, we saw one of the cool features of Android Q i.e. the Bubbles. We learned how to use the Bubbles in our application to display our application’s notification. At last, we also saw the key points that should be kept in mind while using Bubbles.
That’s it for this blog. Keep Learning :)
Team MindOrks!